
CyberPanel is also one of the alternatives hosting control panel which provides open lite speed technology built-in Ls-cache for your WordPress, Drupal or Joomla CMS, Email limiting, Git Deployment, DJANGO on vhost and Docker image manager which create endless options to manage NextCloud like other docker containers.
Free for one project domain if we compare with other solutions it has great potential to manage a single or multi-domain environment from a single admin panel.
This blog post will cover how to install CyberPanel on VPS Server.
Requirements
- VPS Server with Public IP (We can use Portforwarding for Webservices if Required)
- VPS Server OS CentOS 7.x (Recommended) or Ubuntu 18.04 will work now.
- Python 2.7
- Min 1GB RAM (Compare with litespeed enterprise Free Stater support max 2 GB Memory)
CyberPanel Version
There are 2 versions of Cyberpanel available
- CyberPanel Open Lite Speed
- Cyber Panel Ent. Lite Speed Enterprise
The comparison can e found here litespeed website.
The Key difference is Support community vs Premium and priority support through helpdesk, Cache Engine, ESI, and Rails Shared Hosting. but in my preference, if any company Webhosting requirement is there is always better to use CyberPanel Enterprise include one domain free.
But as a hobby or small user, Open Lite Speed version of CyberPanel is good if there are more than 2 domains.
Installation CyberPanel
This Post is covering Open Lite Speed version and installation is pretty straight forward just download and run “install.sh” file.
make sure the VPS System is up to date by using a command
Cent OS
# yum update

Ubuntu
$ sudo apt update && sudo apt upgrade -y
Now copy and paste the command to download the file ask root user password Ref.
# sh <(curl https://cyberpanel.net/install.sh || wget -O - https://cyberpanel.net/install.sh)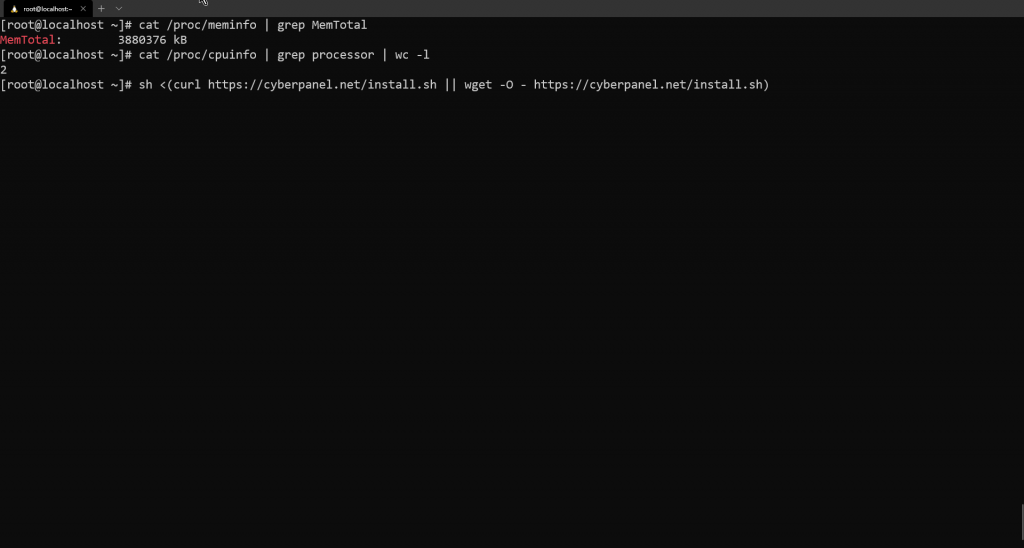
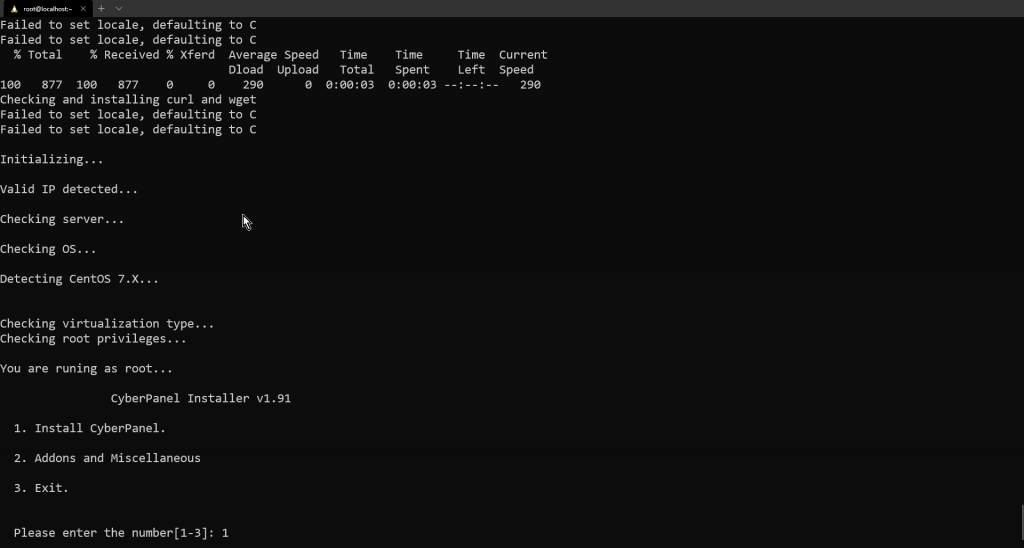
The process will detect Valid Public IP and proceed

CyberPanel Installer will prompt to select installation process Select 1 for installation.
Second Prompt will verify Disk Space and RAM once it qualifies it will prompt you to select CyberPanel Version
1 for Open Lite Speed (Free Community)
2 for LiteSpeed Enterprise (Require to Register First and get license key before proceeding here)
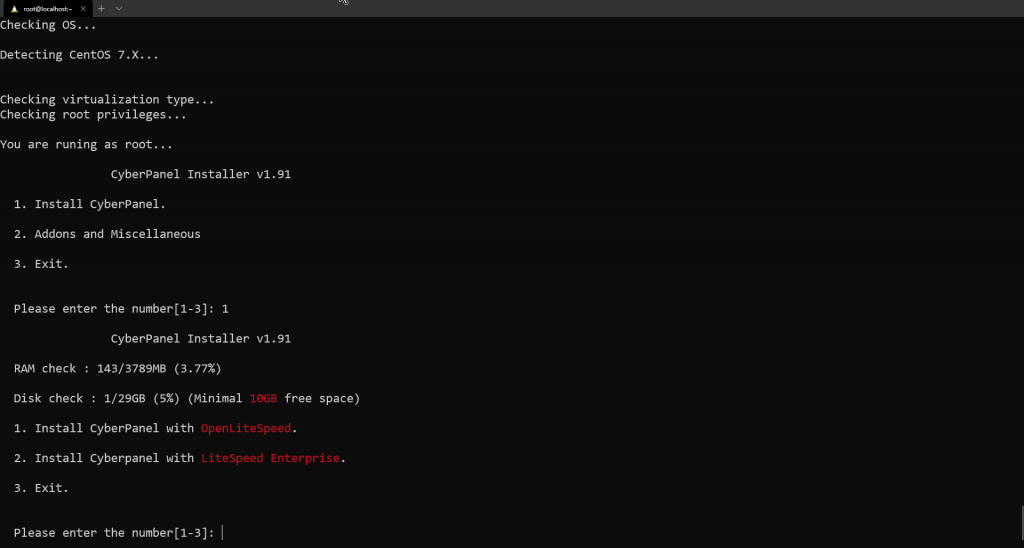
Select 1 for Free OpenLiteSpeed installation

CyberPanel installation create web dashboard which can be accessed from a browser on port 8090 and the default login is
URL: https://YourPublicIP:8090
User Name: admin (Default)
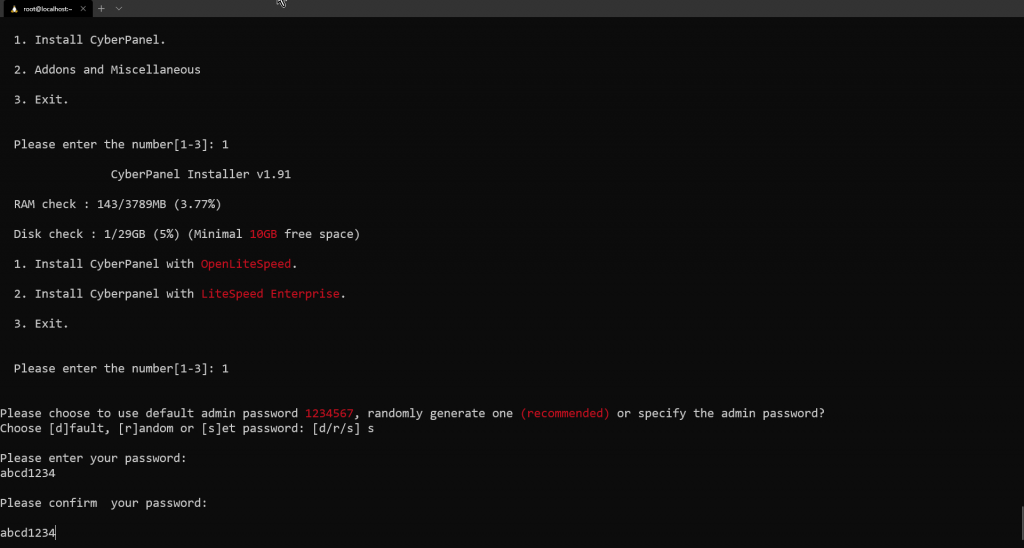
Password: 123456 (Recommend to Change at a time of installation)
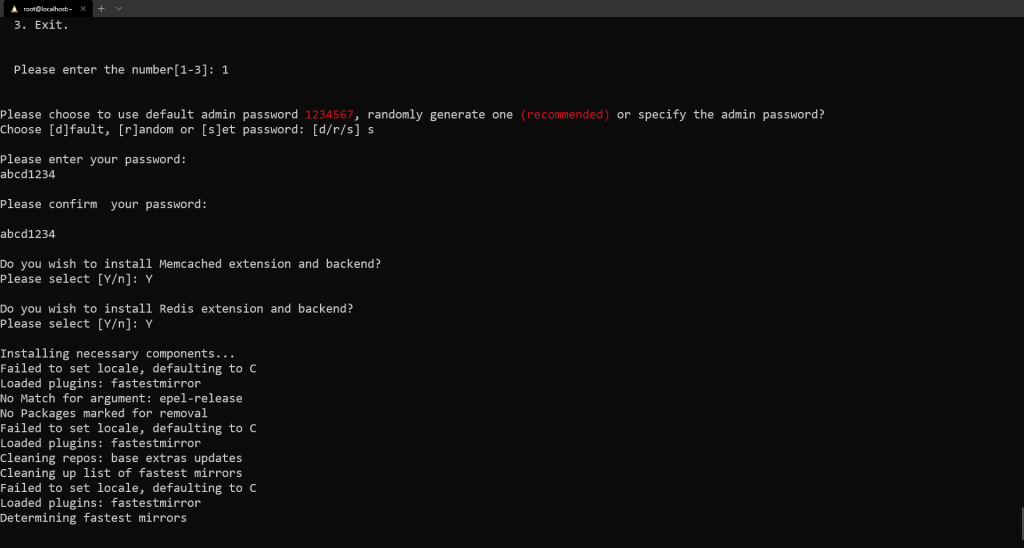
the option is to select
d to use default password “123456”
r to allow CyberPanel generate random password
s to set the manual password
for production, it’s recommended to use r to generate password randomly because it will create a password which not easily guessable and after installation, the summery windows will show the password which we can note down somewhere secure.
but for this tutorial s is used to set the password manually and proceed.
The next prompt will ask to install a Memcached extension and Backend it’s Opensource High-performance distributed memory object-caching system if you have 1 or 2 domains and ram is 2Gb and above better to enable for good performance. Press Y

Redis Extension its good for query run n memory recommend it if there is Laravel development. Press Y

Now the Setup will initialize
we can seat back go have coffee till process finish installation.
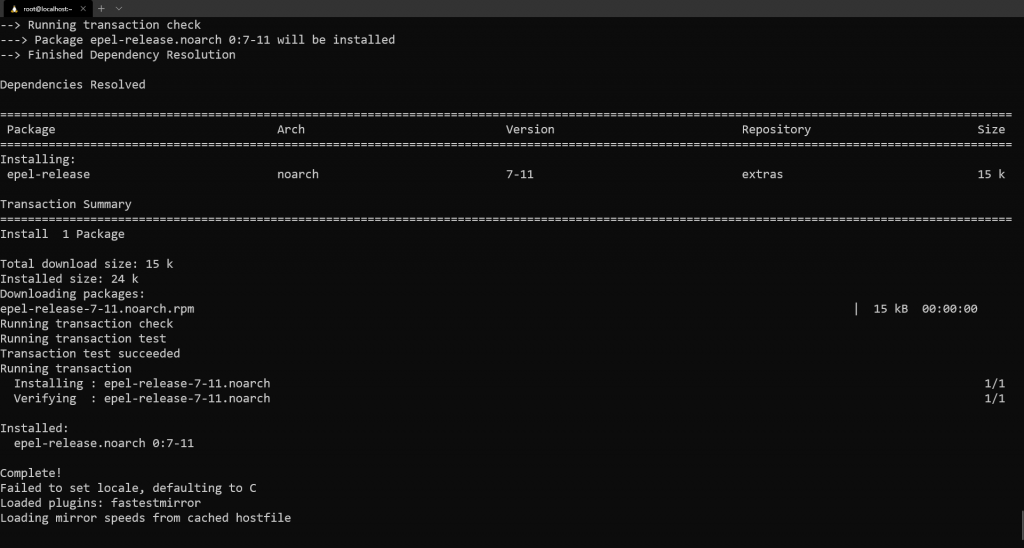
Installing and processing Dependency


Once CyberPanel installation is completed the installer will give a summary which includes.
Cyberpanel admin access URL. Panel User Name and Password, WebAdmin Console login and Some useful information to note down it’s recommended to take a screenshot or copy the information which will be useful in the future.
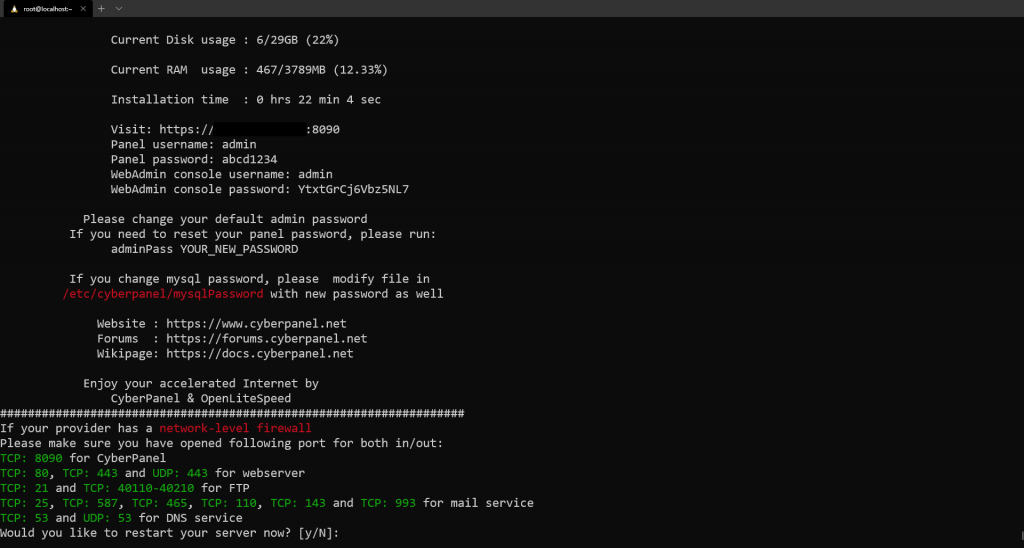
Now as Fresh Installation it’s better to restart all Services to The Process will work fine. Press Y

Login in CyberPanel Admin
The Admin panel can be accessed from a browser by Typing
But for the tutorial, I have added the IP in my Host File and assigned hostname myremote.local so do no need to remember each server IP as default it is easy to remember hostname instead of IP address.
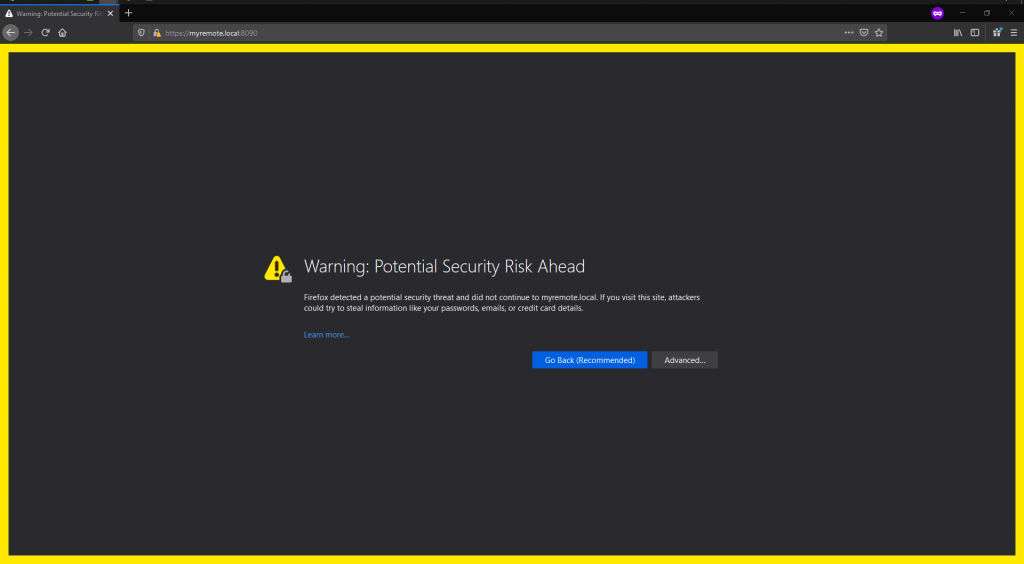
The Security warning comes as it has not assigned any Domain name to IP and the HTTP request is going through the self-sign certificate to access the login page just click on Advance and click on Accept the Risk and Continue.

The Panel will appear to enter the Admin user and credential which we get from the Installation summary.

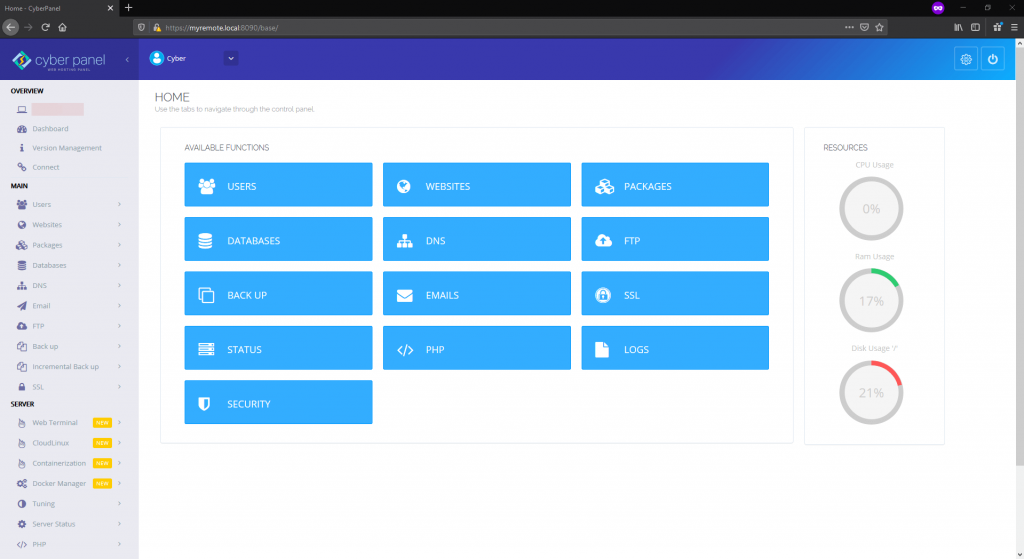
Once Login we can see The CyberPanel Dashboard to Create Users, Websites, Packages for Website Distribution.
Manage DNS, Email and Database Servers.
Which will be cover in my Future Blog Posts.
CyberPanel Basic Troubleshooting
File Location (Tree)
The Default location of Cyber Panel Files are for configuration logs and Virtual Hosts
/usr/local/lsws/ FTP Configuration Location
As the CyberPanel use Pure FTP Demon the location is
/etc/pure-ftpdDNS Configuration
The Power DNS Configuration is Located in
/etc/pdnsMySQL Password
MySql Rood Login password s stored in the following location
/etc/cyberpanel/mysqlResetting Admin Password of CyberPanel
CyberPanel comes with command-line utility and to perform a web dashboard password reset just use Following Command with root access “Replace NewPassword word with own password which needs to set”.
adminPass NewPasswordFirewall CyberPanel Configuration
When CyberPanel its configured on Web Application Firewall or Network Firewall the following ports need to allow for communication.
- Access of Websites allow: Port 80 (TCP) and 443 (TCP and UDP)
- DNS Server Services allow: 53 (TCP and UDP)
- Email Server Service Allow: 25, 587, 465, 110, 143 and 993 TCP only
- FTP Server Services Allow: 21 (TCP) and Range from 40110 to 40210 (TCP)
- Admin access 8090: Highly recommend to allow selected IP’s to access which prevent brute-force attack on the port.
Recommendation for CyberPanel
As a recommendation for Access of FTP I highly recommend disable it as CyberPanel has File Manger which supports web uploading and downloading.
SSH access on Port 22 as always there will be 1 or 2 instances where it requires to access ssh only allow your public IP to access SSH also use Keyless access on ssh which will prevent brute-force access on ssh.
Low Disk Space error or 501 error
The VPS server always has low disk space capacity, for example, 20Gb or less so when we proceed to update and CyberPanel Default LSWS logs chunk most space to store logs.
Disks space gets full 100% mostly it happen with log file
The Logs Location is
/usr/local/lsws/logsit’s highly recommended to delete logs file to save space by using the following command frequently.
rm -rf /usr/local/lsws/logs/*or Create a cron job
Backup File location
CyberPanel Support Domain Backup which Saves File in the following Location in *.tar.gz format
/home/domain.com/backup
or
/home/backup
Conclusion
Compare with other CPANEL Open source alternatives CyberPanel can be consider One of the good option.
Must Read