
Virtualmin is better open source Webhosting control panel which provides all required tools and setting for monitoring, configuring and maintaining hosting environment. I use and suggest a Virtualmin control panel when users or business requirements are to host more than one website or mail domain service and addon to manage multiple hosting servers with backup and redundancy support.
This blog post will cover how to install Virtualmin on Ubuntu 18.04 VPS server.
The minimum requirement for Virtualmin installation as it can be used in 512MB RAM also but requires lots of tweaking.
For users who required mail, web hosting with SPAM and AB protecting better to start with at least 2GB RAM.
Login on VPS via ssh, Updating the ubuntu server with the latest patches using command.
sudo apt update && sudo apt upgrade -y
Visit https://www.virtualmin.com/download.html
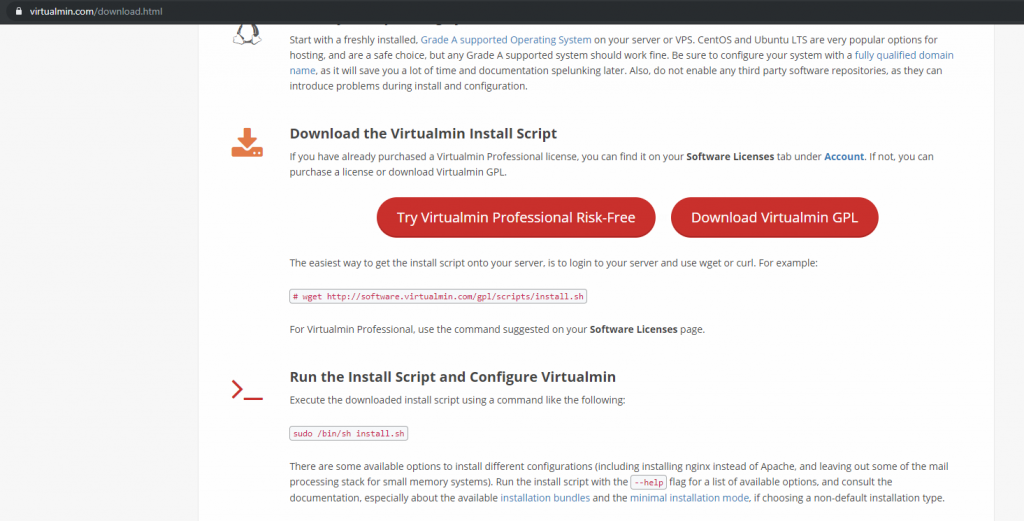
Run wget command from the page or below to download the installation script file.
wget http://software.virtualmin.com/gpl/scripts/install.sh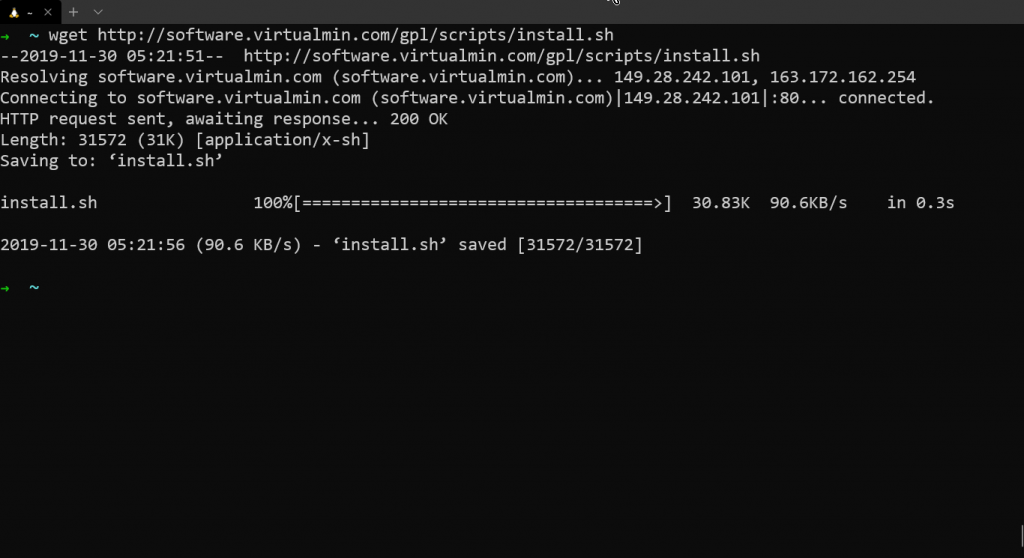
The following help command will show options.
sudo /bin/sh install.sh --help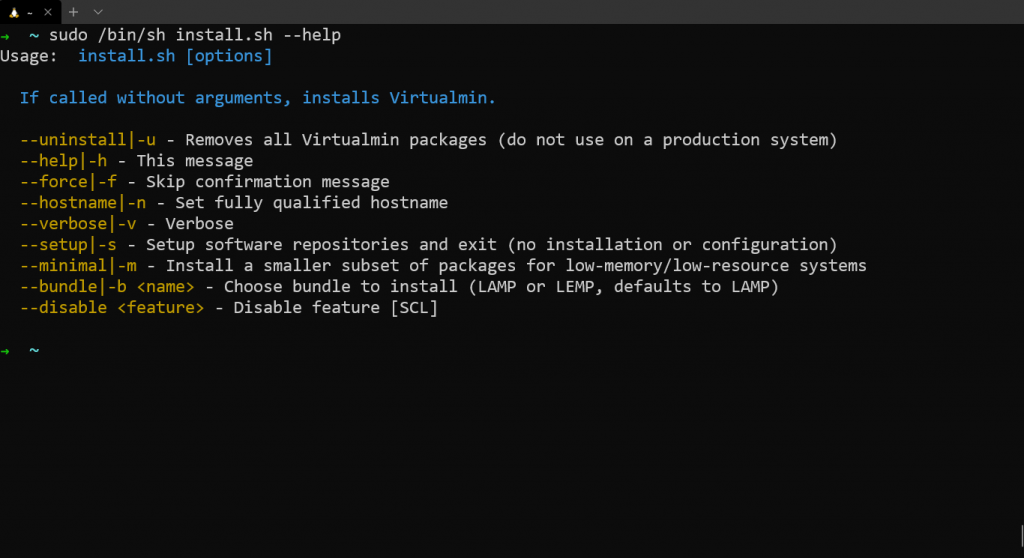
By default, Virtualmin uses LAMP stack and prompts to enter a fully qualified domain name at a time of installation. But we can choose Server stack with a script.
LEMP Installation with Virtalmin
For LEMP stack (Linux, Nginx, MySQL/MariaDB, PHP) the following command can be used.
sudo /bin/sh install.sh -b LEMP -n FullyQualifiedDomain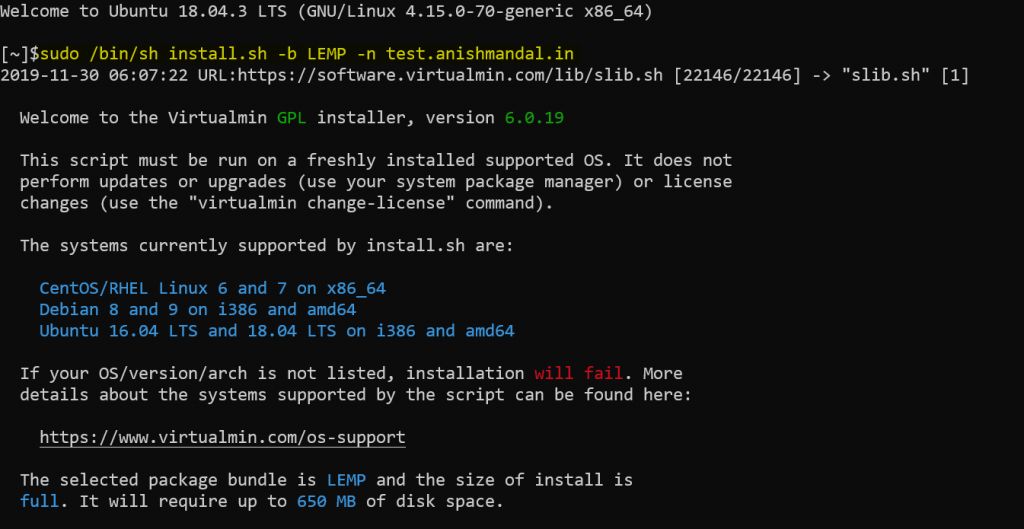
LAMP Installation with Virualmin
For LAMP stack (Linux, APACHE, MySQL/MariaDB, PHP) the following command can be used.
sudo /bin/sh install.sh -b LAMP -n FullyQualifiedDomain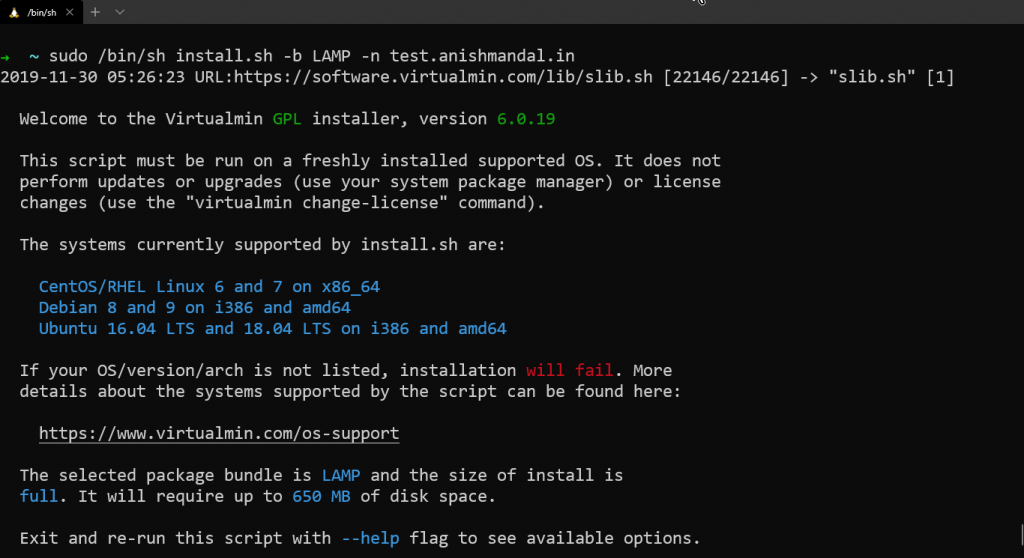
In both options, the difference is LEMP use Nginx and LAMP uses Apache services. Sometimes it differs as I have seen some PHP project requirements are to use Apache only and Some Apps works well with Nginx.
After running the command, the process will ask select y to continue or n to stop installation.
Y for continue.
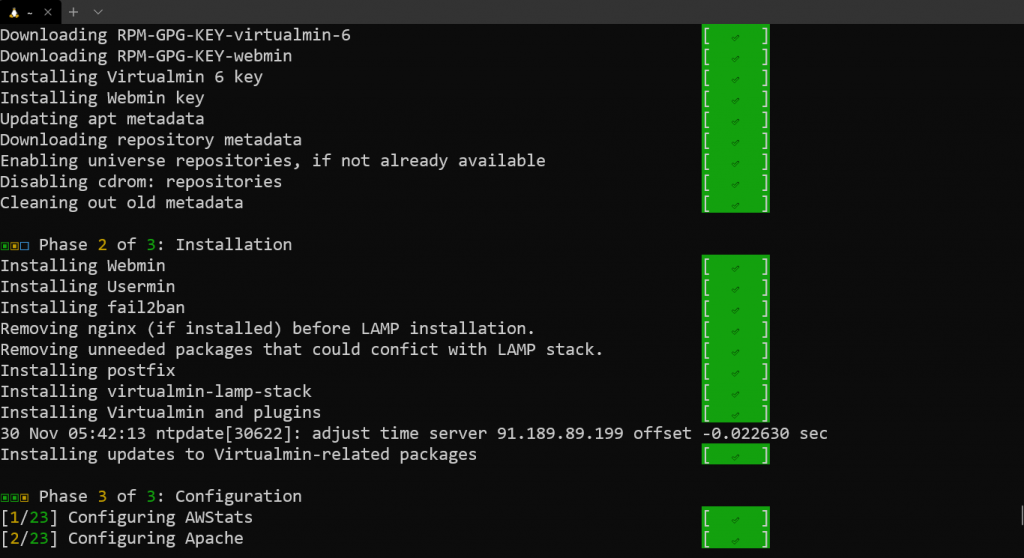
The installation is divided into 3 phases
- Phase 1 for Downloading
- Phase 2 for Installation of component
- Phase 3 Configuration of Component
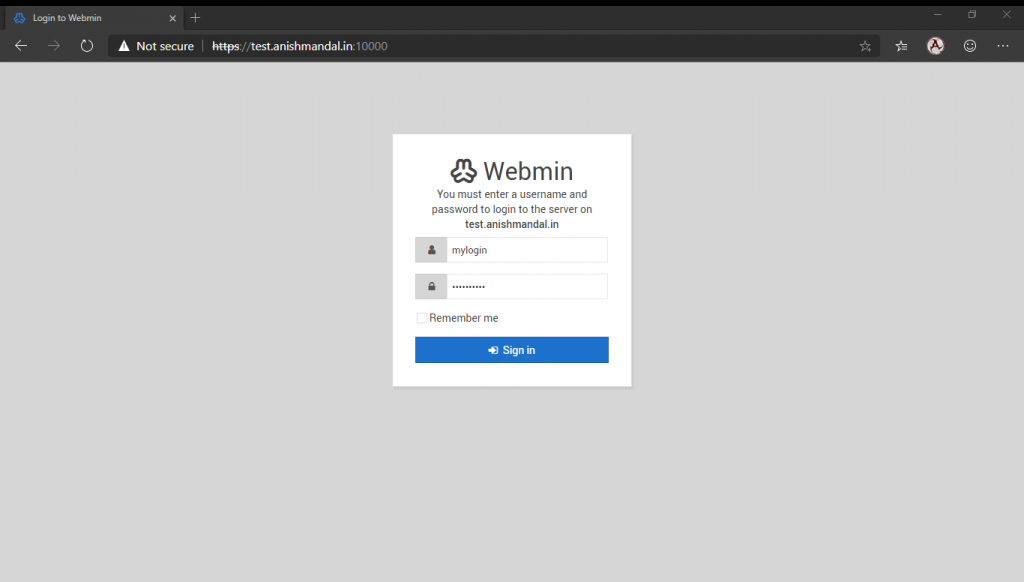
After successful installation, the success message will prompt to access Virtualmin on a browser using https link on port 10000
https://ipaddress:10000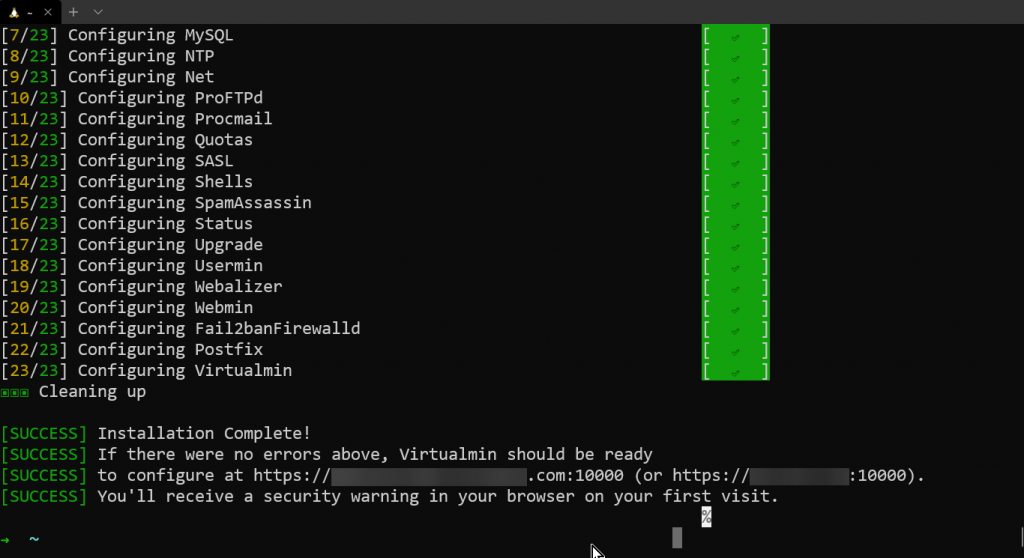
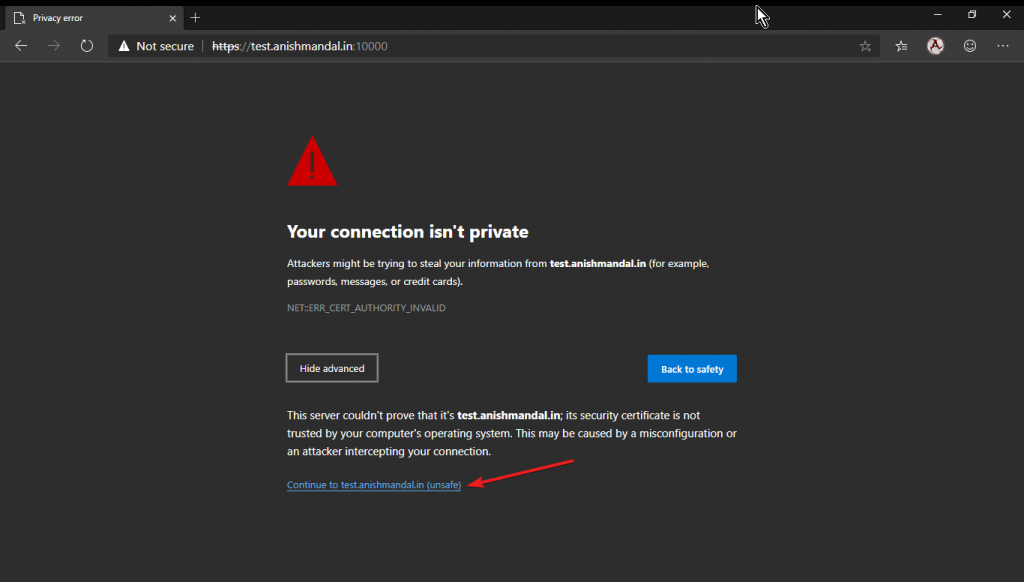
Note: Even we select domain name at a time of installation the virtual min will not work on URL unless the DNS is pointed on the IP.
For the first instance always access from IP address, I have pointed test.anishmandal.in DNS to this VPS IP so it can be accessed using the Domain name
The Default Login username and password are the same which used to login on VPS, or in some cases, we need to create User on VPS and provide SUDO privileges so that username and password can be used to login in Virtualmin Webmin portal.
After Login First-time configuration wizard will start to guide the process for tweaking Virtualmin as per requirement.
Note: The following settings screen images just for testing purpose only please select proper yes and no options as per requirements for example
If EMAIL Hosting is a primary requirement then Memory Use, Virus Scanning, and SPAM Filtering should be enabled on RAM for Better Performance.

Click Next to Continue
Memory Use
Virtualmin can be tuned to improve performance in its user interface and email processing but at the cost of increased memory use. The best choice depends on how your system will be used.

Click Next to Continue
Virus scanning
If this system is going to host domains that will receive a large amount of email, scanning incoming messages for viruses can generate a high CPU load. This is due to CPU use by the ClamAV virus scanner when it is started, which can be avoided by running the ClamAV scanning server clamd in the background. This consumes RAM but reduces CPU load and makes mail processing faster.
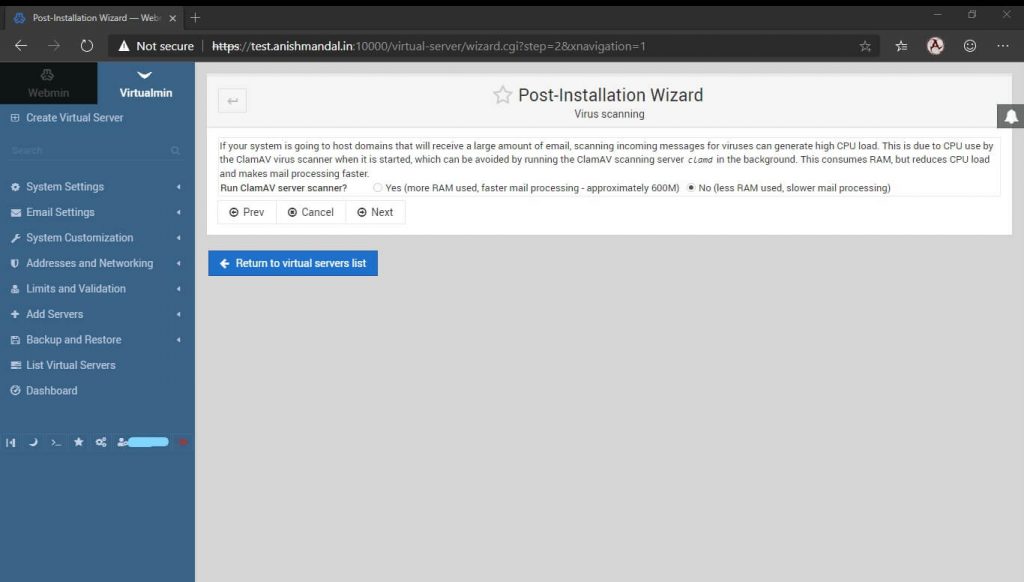
Click Next to Continue
Spam filtering
If this system is going to host domains that will receive a large amount of email, filtering incoming messages for spam can generate significant CPU load. This is due to CPU use by the Spam Assassin mail filter when it is started, which can be avoided by running the Spam Assassin filter server spamd in the background. This consumes RAM but reduces CPU load and makes mail processing faster.

Click Next to Continue
Database servers
Virtualmin supports both the MariaDB/MySQL and PostgreSQL database servers, but you might want to run only one (or neither) on your system. Each consumes RAM when running, even if they are not being used.
Depending on the websites and applications you plan to host, running MariaDB/MySQL only may be enough, as most web applications do not support or require PostgreSQL. If your system will only be used for mail or DNS hosting, there is no need to run either.

Click Next to Continue
MySQL password
IMP: Please Note Down this password as its Database Root password as not recommended to save on the same server in plain text format.
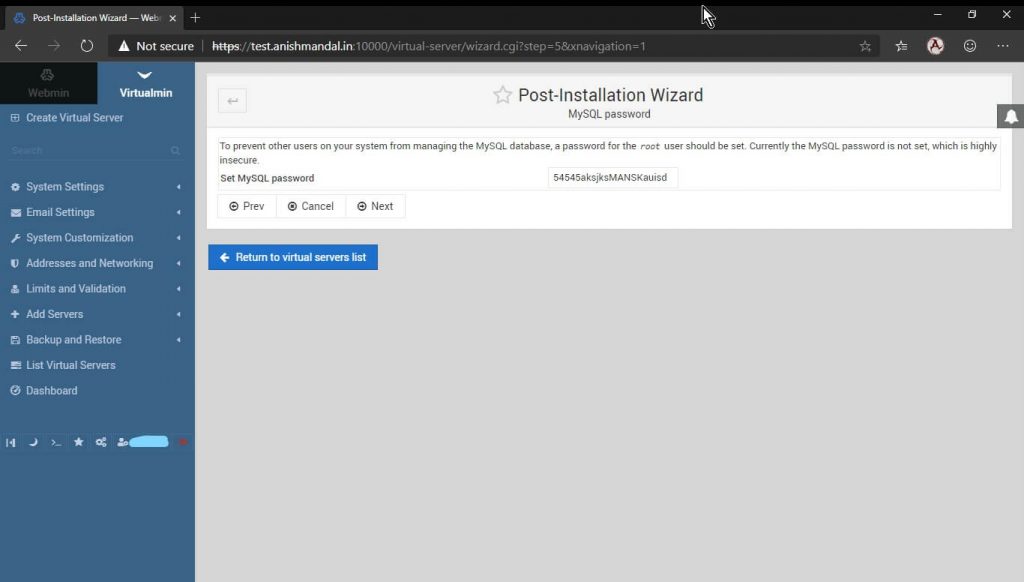
Click Next to Continue
MariaDB/MySQL database size
MariaDB/MySQL can be configured to trade off memory use for performance, depending on how much RAM your system has and how heavily you expect the database to be used
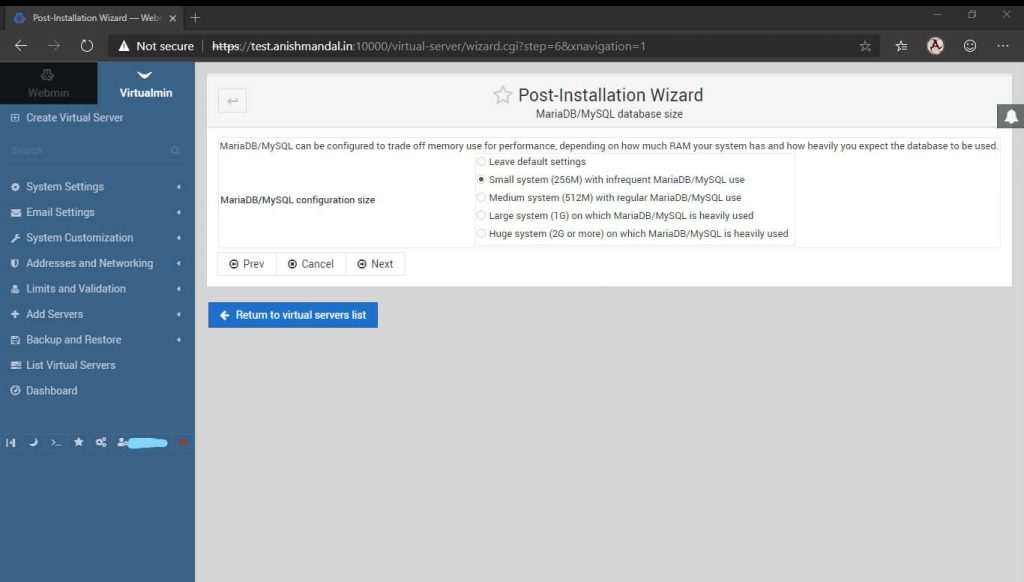
Click Next to Continue
DNS configuration
IMP: IF domain provider is pointed properly to this server, we can leave the primary name server as it for reverse DNS lookup or temporary “Skip Check”
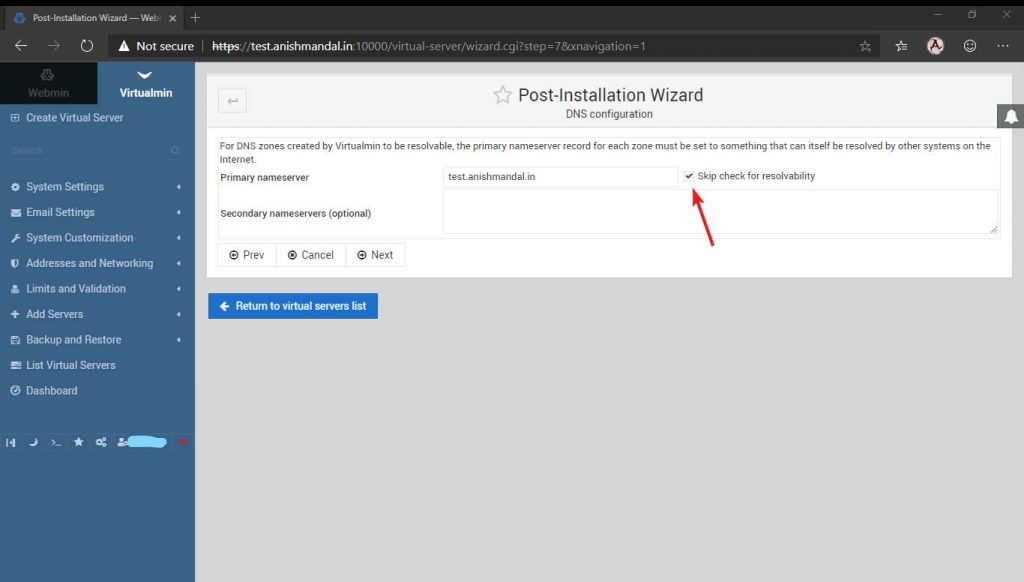
Click Next to Continue
Password storage
For the production environment highly recommended to store only hashed passwords. But when hashed passwords are used, password recovery for virtual servers will no longer be possible. Besides, the Database password for new servers will be different from the administration password and will be randomly generated.
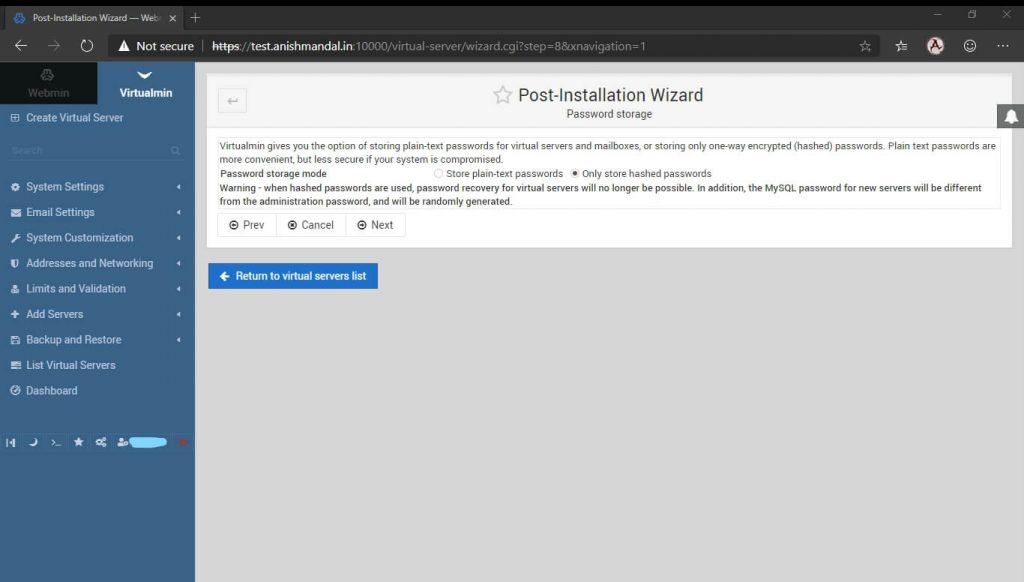
Click Next to Continue
Process Installation.
Now the Wizard will process configuration settings to this server.
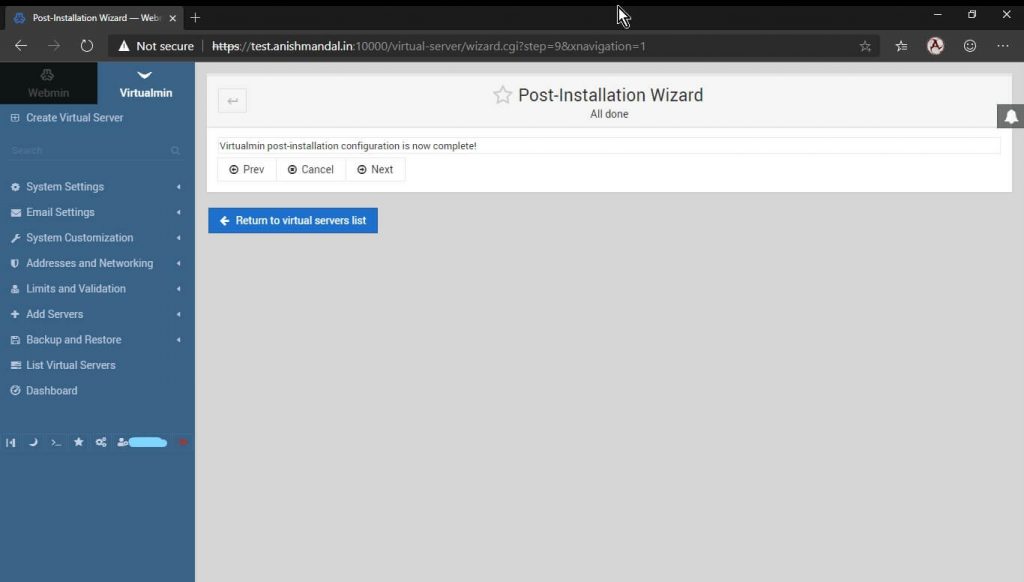
Click Next to Continue
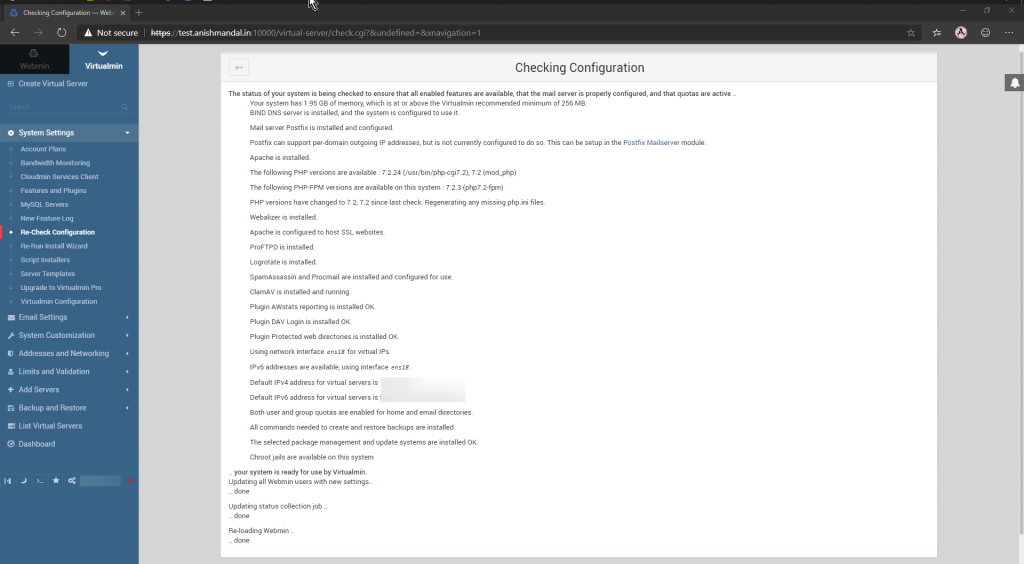
Re-Check and Refresh Configuration
It’s better to re-check and refresh configuration on the first installation.
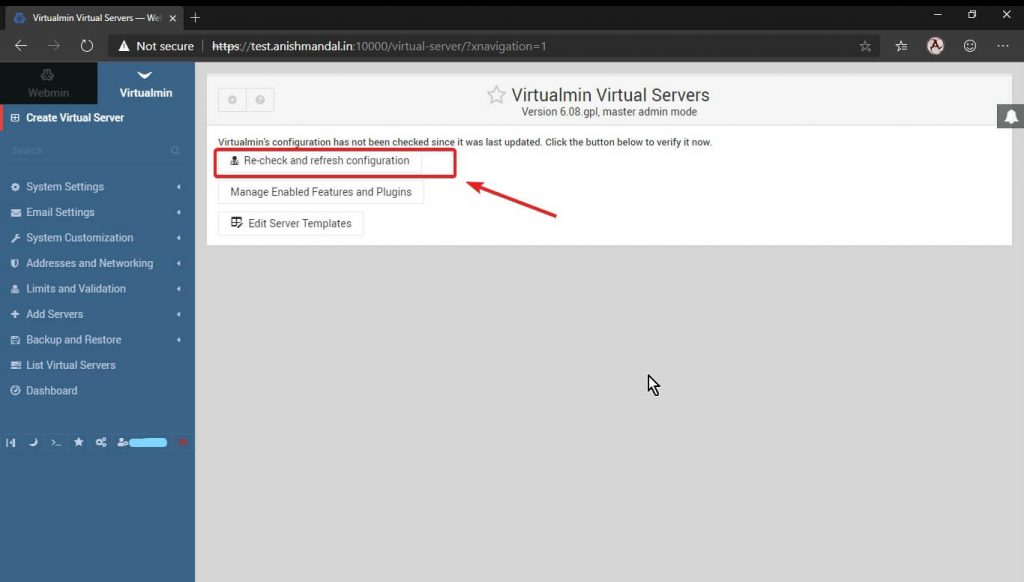
Process settings.
Installation complete now create Virtual Server.
For this example, I want my different domain “https://theothersideofme.xyz” new news subdomain should be hosted on this server with email.
Cover in my Next Post