

ShareX tool can be used to take scrolling screenshots, one click upload and record screen on your Windows system. It is a handy tool if you compare it with the Windows inbuilt utility Snipping too also an open-source tool that is available free to download and use there is no subscription or purchase required.
In this blog post, I am going to review the ShareX screenshot utility tool that can help to take screenshots easily.
it has more functions highlighting Capture Windows a portion of area for complete text with one click upload add text or marking with arrows rectangular or circle in your screenshot.
Download ShareX
Visit site https://getsharex.com/ and click on the download link.

After downloading, run the MSI file for installation.
Installation of ShareX Tool
The installation will ask to accept the agreement as this software uses GNU Public License which Gives Freedom to check Source code, modification, or Compile as per our requirement.
Click Next.

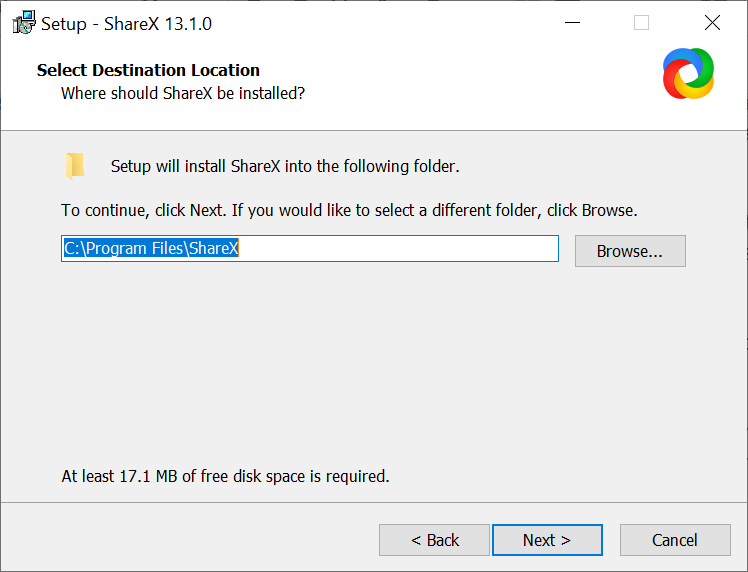
The following Screen shows where the program will install click next
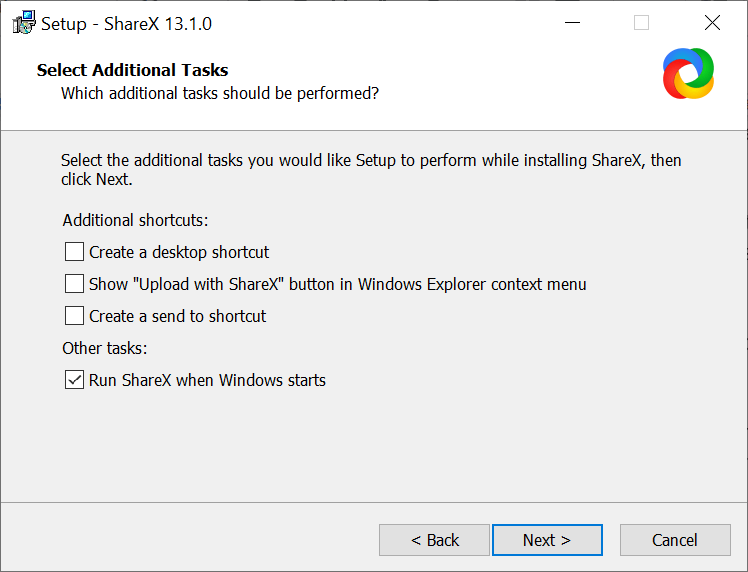
By Default, installation is tick all the following check boxes but for me, I don’t like clutters on my desktop or Context Menu (Right Click) so I uncheck all checkbox except the following which start SHAREX utility when my windows system starts. You can check to uncheck the option or leave the default as per your preference and click Next.
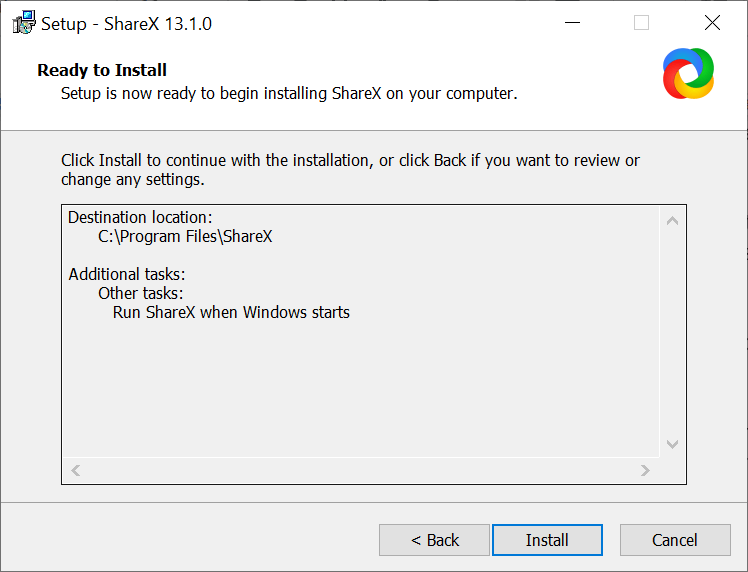
The following is a summary of the installation. Just click on install which starts the installation.
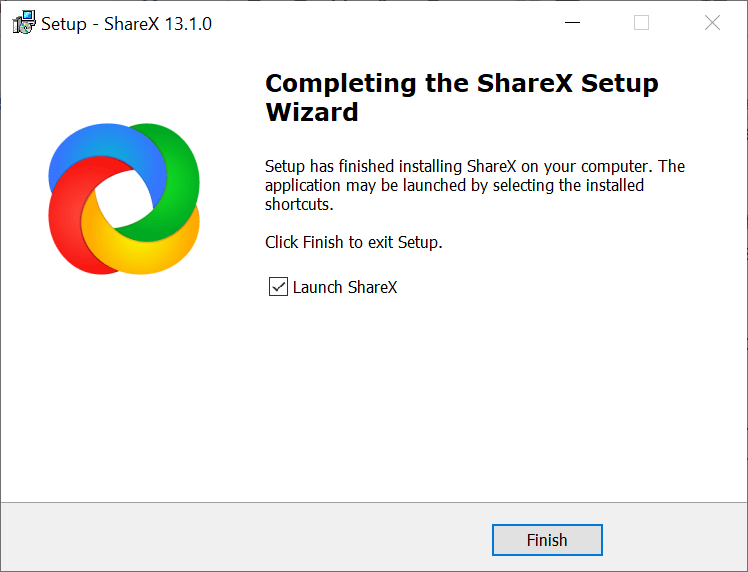
The Installation is very light depending on system configuration but usually, it will not take more than 5 Min click on finish to Launch ShareX.
For me at first, starting the shortcut key Ctrl and PrtScr is used so the warning was there I just clicked OK.

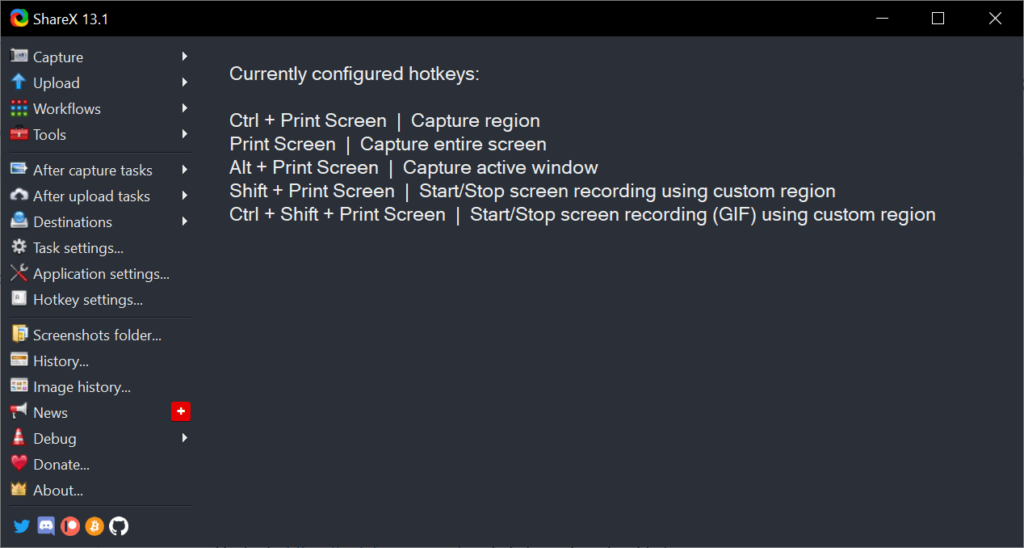
Seeing the Main Windows of SHAREX the first impression is like it’s a very complicated utility for the screenshot. But it’s very easy to use utility for day to day activities but has more customization as we compare with Market tools that are available with a price tag.
Also on the main windows, we can see all keyboard shortcuts with the functions. This is default keybindings for ShareX and yes we can customize as per our preference.
Customizing Keybinding of ShareX tool
In the left side window, we can see Option “Hotkey settings” click on it will bring the option to customize keybindings for sharex.
There we can see my first option is reflecting in “RED” that indicates the following keybinding will not work for that function in this case “Ctrl and PrtScr” for capture region.

By clicking on the keybinding the tool will ask us to set new keybindings.

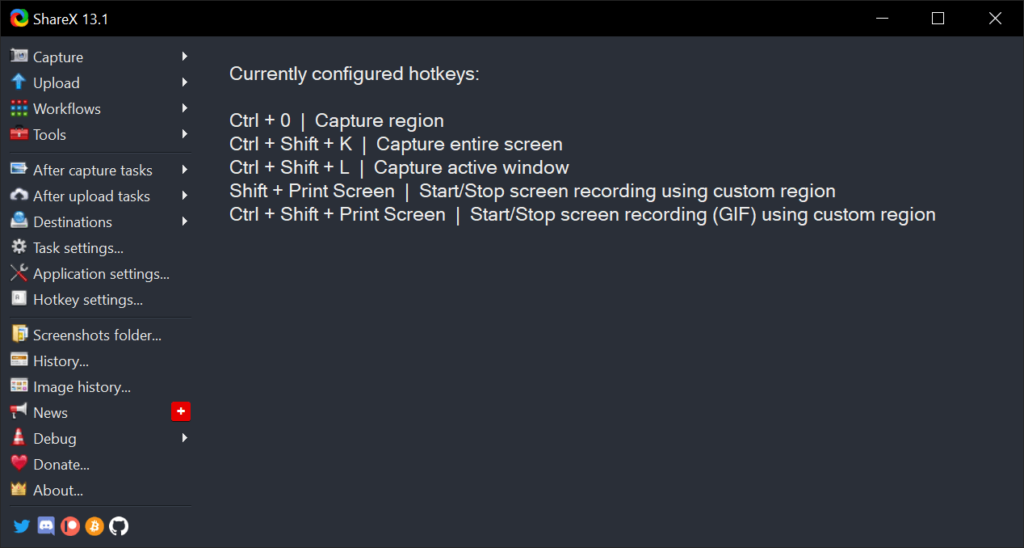
That is my following Key Bindings. You can select Keys as per your preference or it can leave default for me those key bindings work best.

After closing the Keybinding window we can see on the main menu our current keybinding for any future reference we just need to open sharex and get Shortcut keys.
Application Settings of ShareX
In the following image, we can see Application settings as I selected minimize on system tray on start which hides sharex in the background when I start my System.
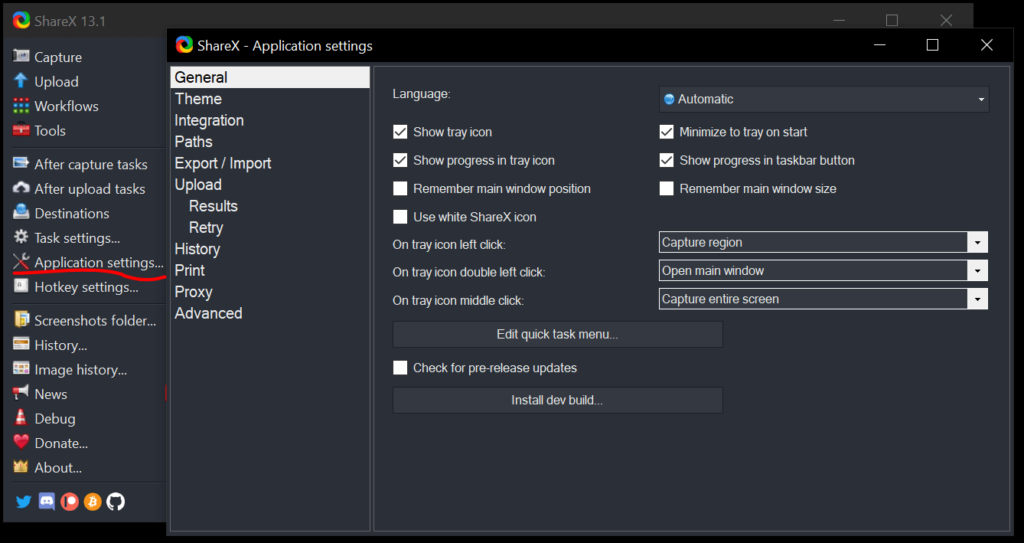
In the Path option, we can see where the screen capture is stored. I leave it to default as it creates subfolders Year and month-wise very easy to find something.

Disable Auto Upload in ShareX
Sharex provides an auto-upload function which is handy if we need to share a screenshot with someone the image is uploaded on an image hosting site and the default behavior copy uploaded URL path to our clipboard which can be used to share links by just pressing Ctrl and V.
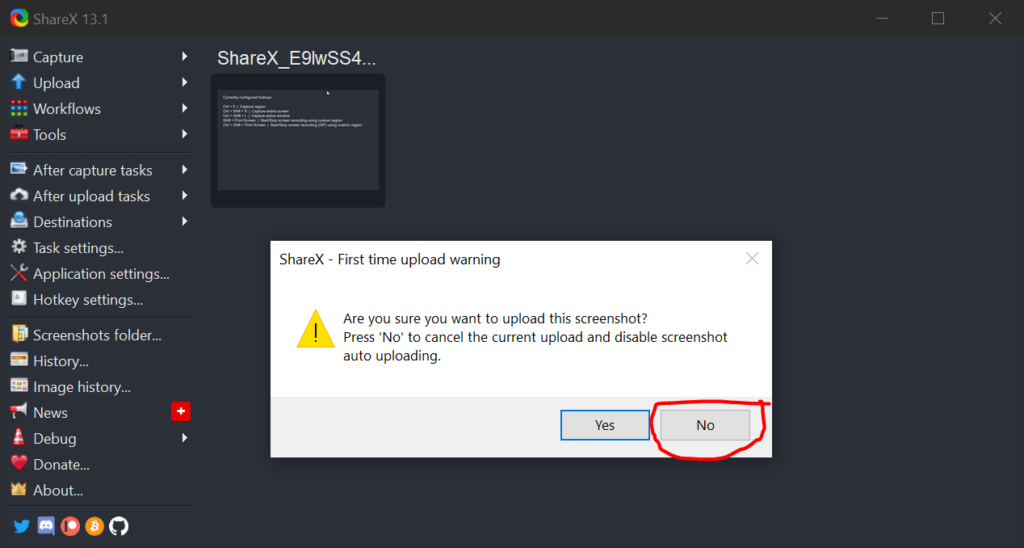
For me, I like to disable auto-upload for that just take one screenshot and the following popup will appear which gives the option to disable auto-upload.
After Capture Task in ShareX
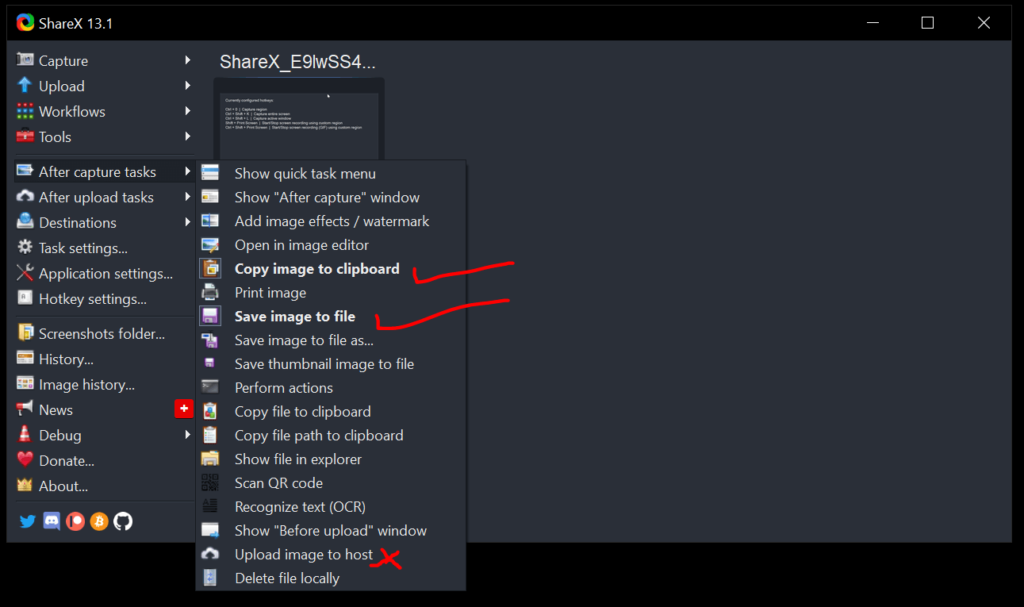
The ShareX provides lots of functionality and customization which helps to automate tasks after taking a screenshot. The following is my task after taking a very simple screenshot.
- Copy the image to the clipboard so I can paste any document like word or PowerPoint for current examples directly in my blog.
- Save the screen in a file so I can use the PNG file if I require it in the future.
- You can see I have disabled upload option but in the future, if I require direct upload it can also be enabled by a simple click. And next to that setting we can configure upload tasks also.
As the Default, the Share X is running in the taskbar which can be directly accessed from the taskbar so no need to run it again and again.
Basic Troubleshooting of ShareX
ShareX not taking my Screenshot
Please Check the ShareX tool is running in the background in the taskbar or just open it once more from the start menu.
Customization Backup
The sharex tool provides plenty of customization options. It’s best to save a customization config file somewhere safe so in the future, if you installed ShareX again or in a new system just paste the config file and all your customization keybinding will work the same way.
The Config File is located under the same Document ShareX folder using JSON format.
%USERPROFILE%\Documents\ShareX
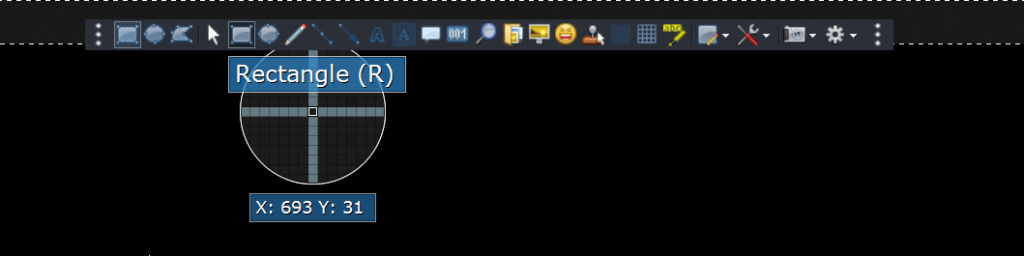
Default Screen Shot Gives Multiple Option where we can Highlight and select Area.
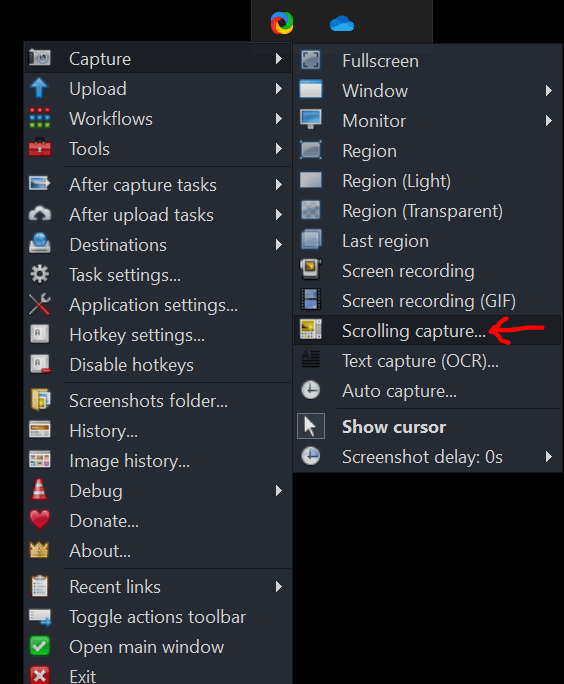
Capture auto scrolling screenshot
The most difficult task is to capture the Scrolling Page with windows inbuilt tools in shareX all you just need to open that document or website from taskbar right click on that tool and select scrolling capture.
With Simple Note Taking Application and Upload function its very easy to manage all notes