Continuation of my last blog post How to install Virtualmin control panel in ubuntu 18.04 Server on VPS. This blog post I want my different domain “https://theothersideofme.xyz” new news subdomain news will be hosted on this server. Then the name will be news.theothersideofme.xyz Configure WordPress and Email Server for Users with [email protected]
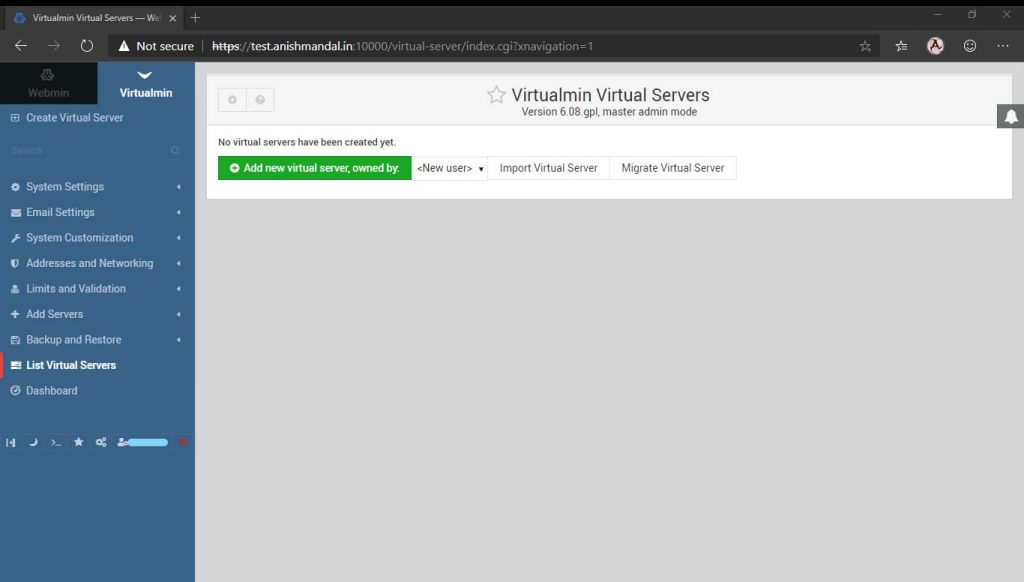
The default installation of the Virtualmin page is like a blank Control panel.
This post I will show how to configure a virtual server. We can host multiple virtual servers as far as the VPS resource supports.
After login in Virtualmin, the option is available to add a new virtual server.
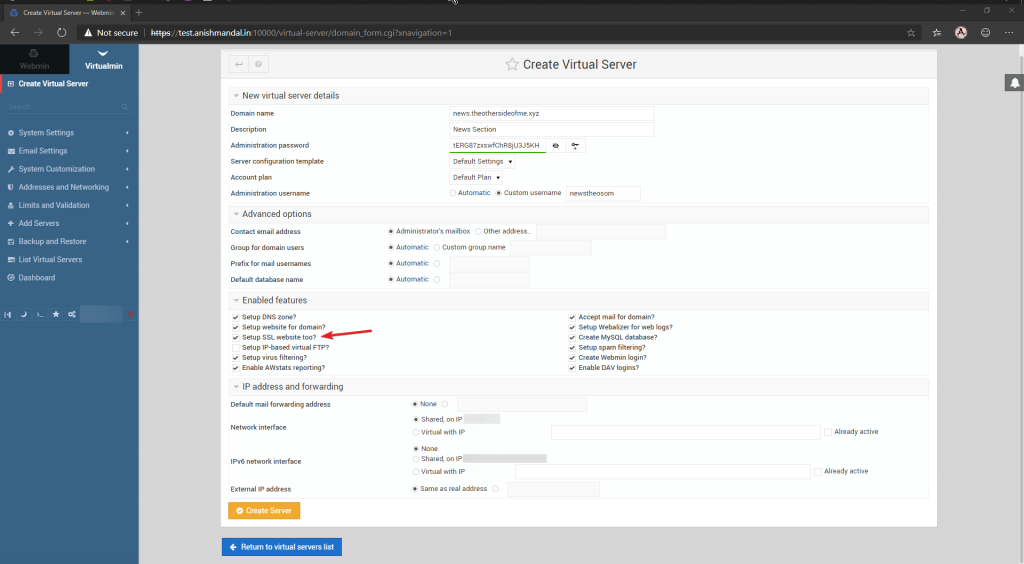
Now as below configuration can be used as default.
Virtualmin Support letscrypt SSL for https with the domain so it can be enabled from features.
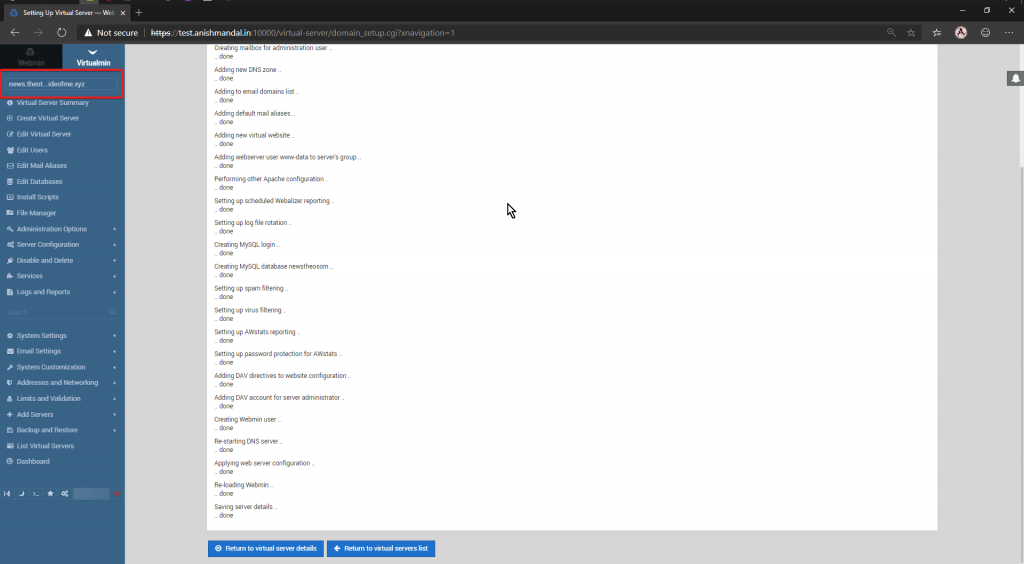
Clicking on Create Server the wizard will perform process configuration and create a Virtual Server. If multiple domains are created the required domain can be selected from the dropdown list.
WordPress Installation.
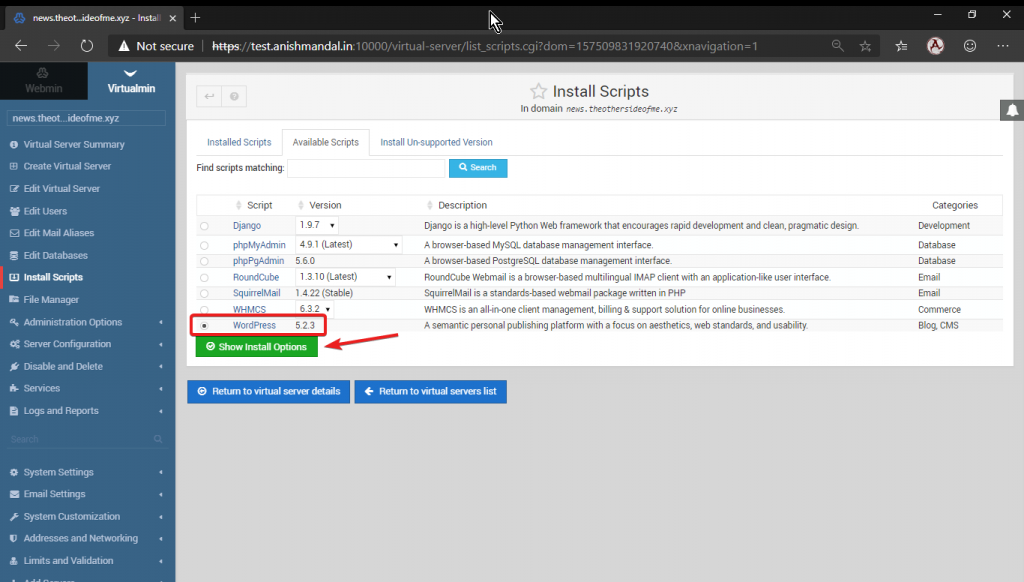
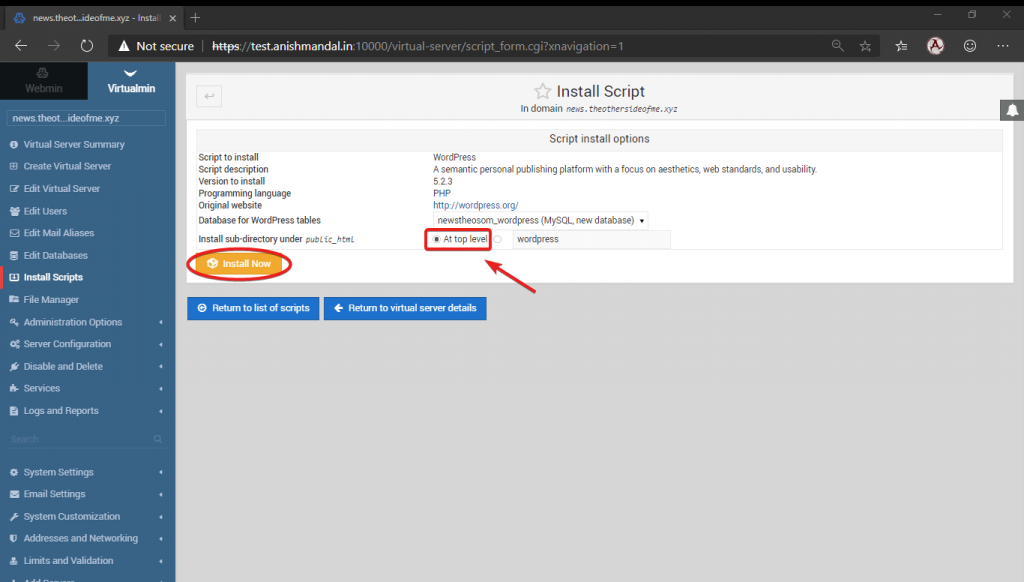
From the Left side, Panel Go to Install Script and Select Available Scripts where we can see WordPress script available. Selecting and process on Show install option.
Now this part little bit tricky I want the WordPress instance should work directly on a subdomain by default Virtualmin script create a directory and install WordPress which can only accessible like
Sitename.xyz/wordpressBetter to select a top-level and click install now.
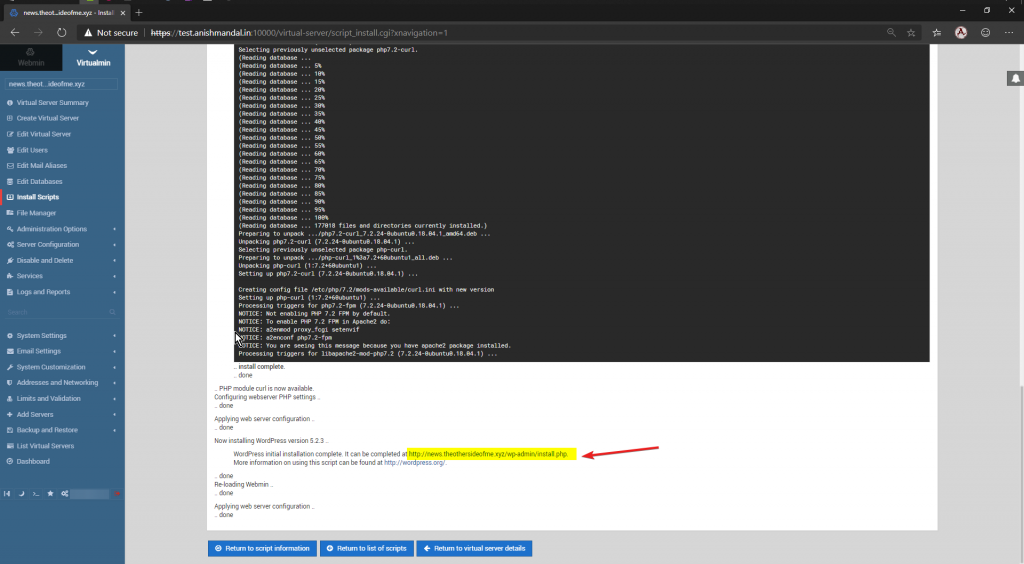
Accessing WordPress Website
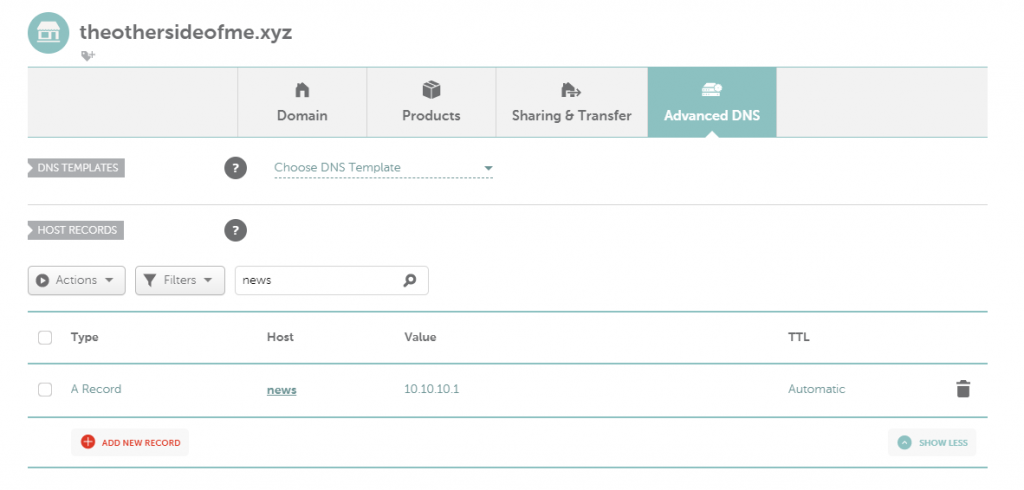
First, we need to create a subdomain and point to our Virtualmin VPS IP. For this domain, I logged onto my DNS provider portal and added A record with subdomain news.
WordPress Install Wizard
Now as suggested on PIC 2 image the link is opened in a browser.
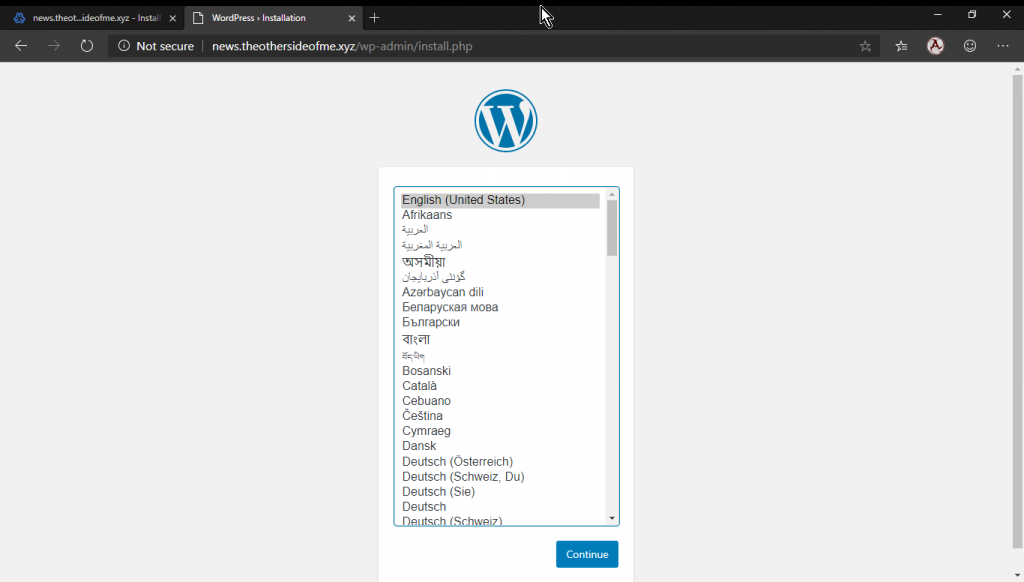
Click on Continue
The same WordPress installation process,
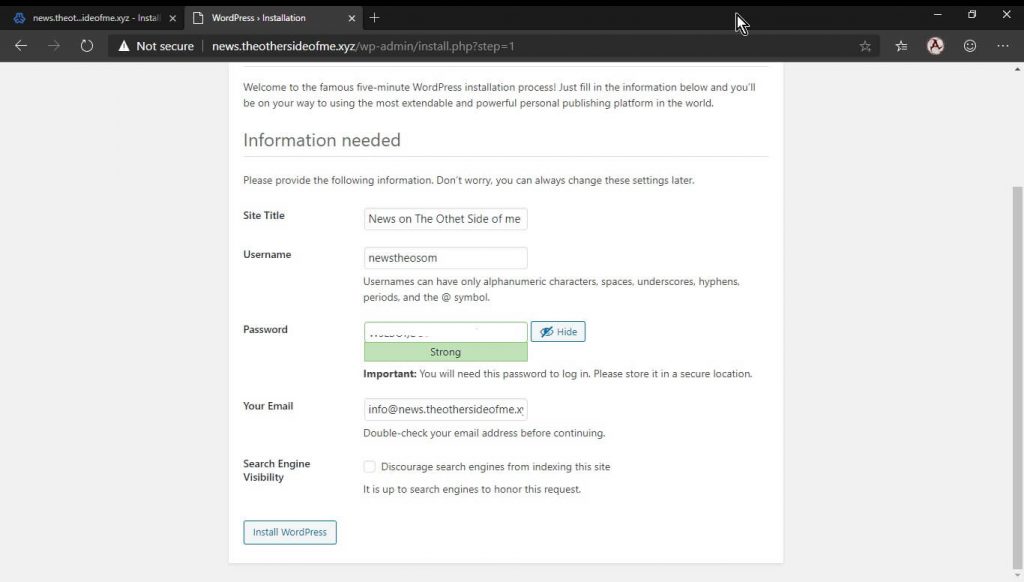
but not required to enter database credentials virtualmin script setup has configured database in back end.
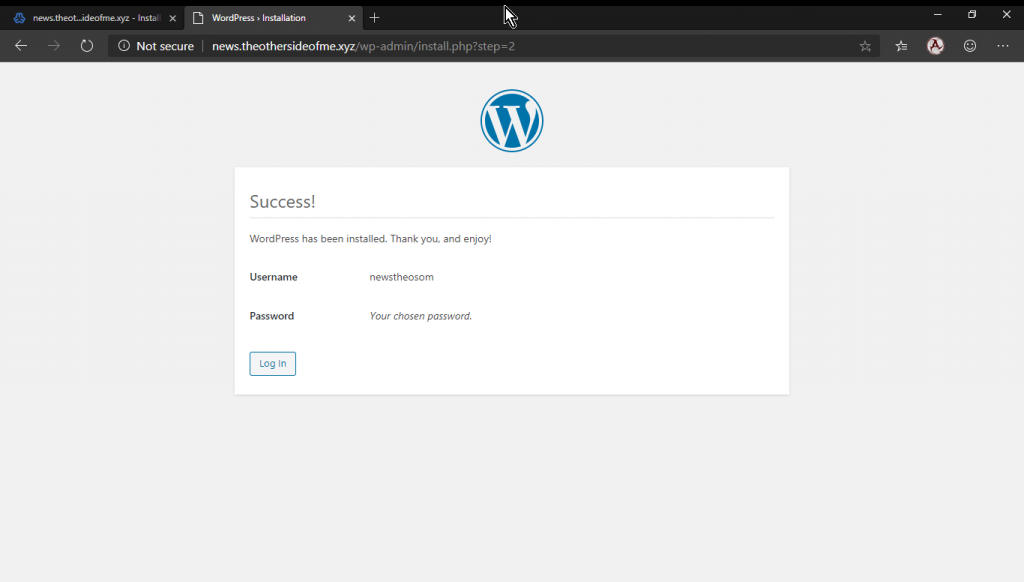
Login and website are ready
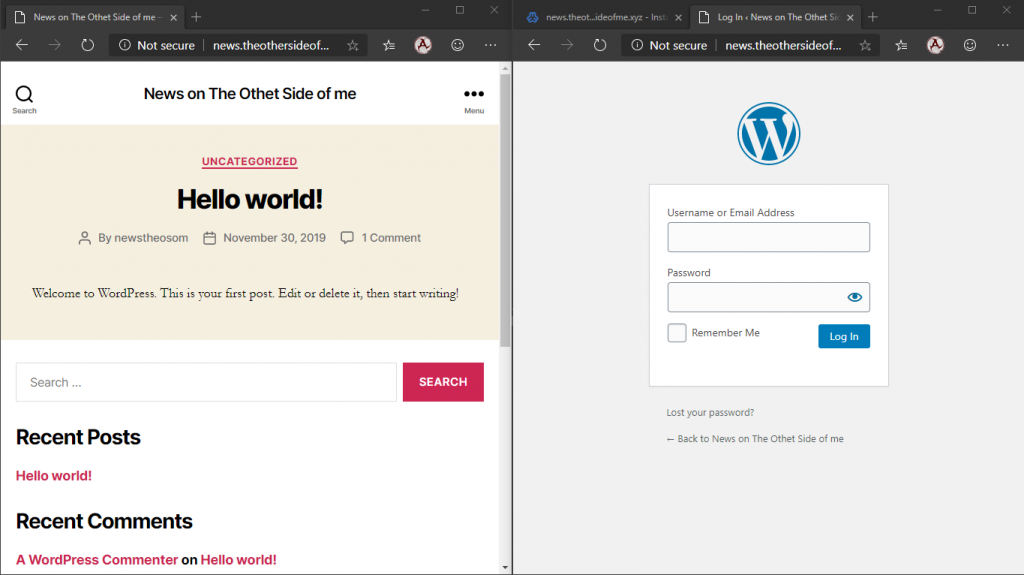
Installation of Email Server Service
Email Configuration and access are also simple in Virtualmin but for better security.
Install DKIM.
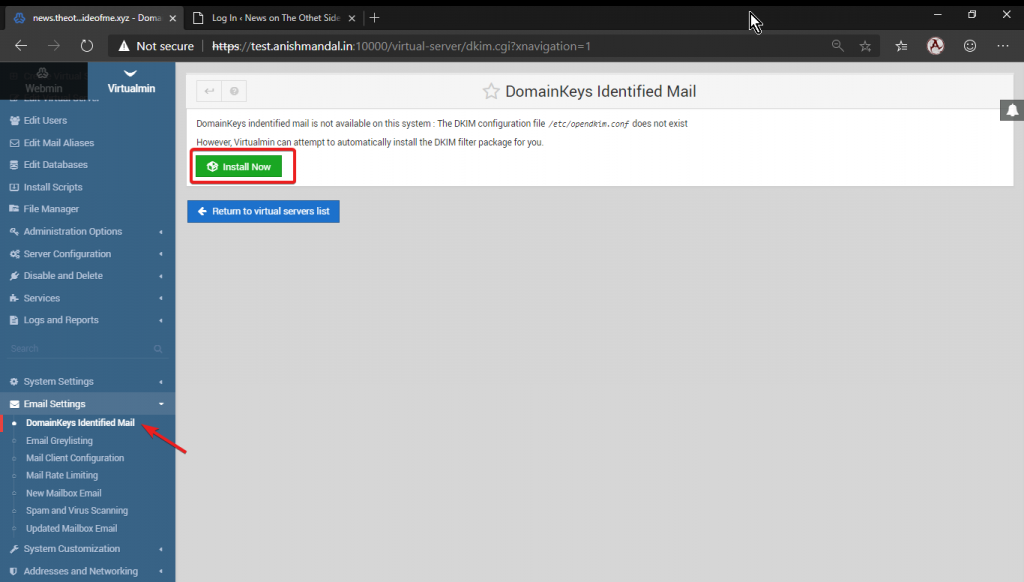
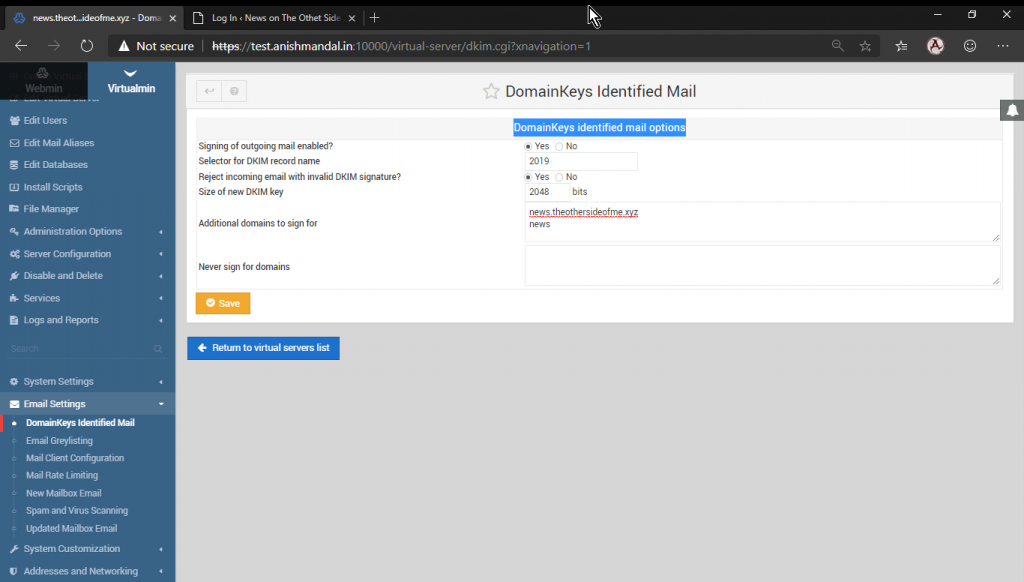
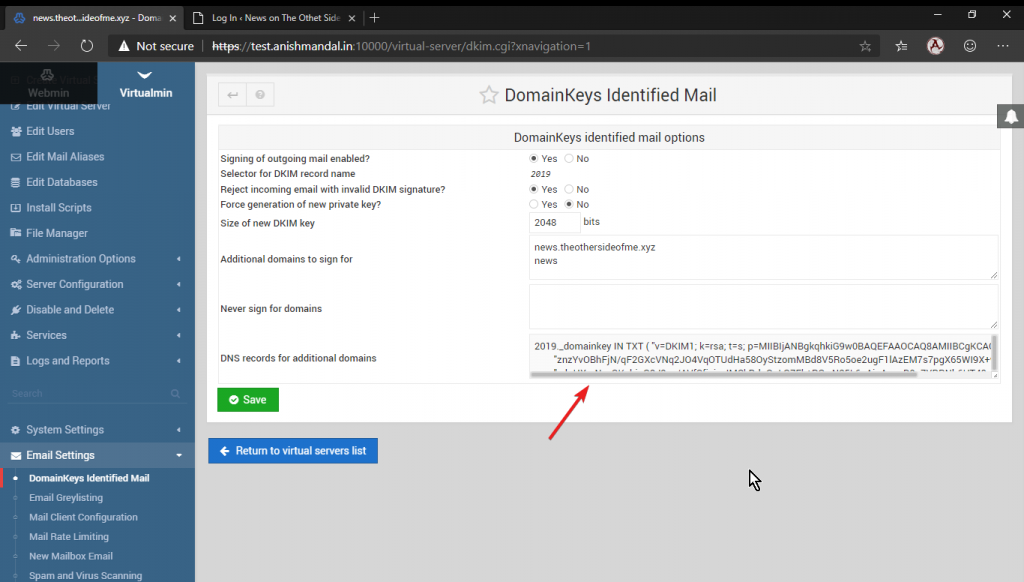
Configuring Domain Keys identified mail options
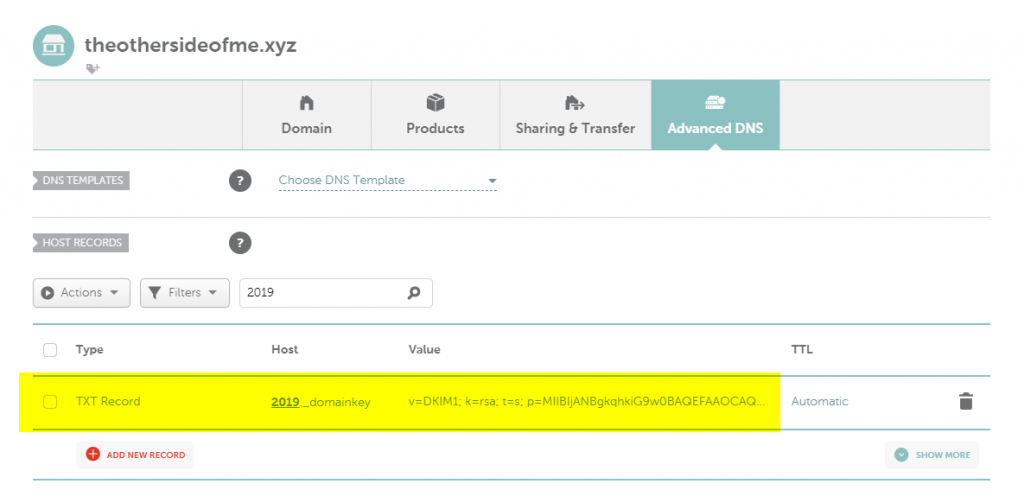
Now add the following as TXT record in DNS Server
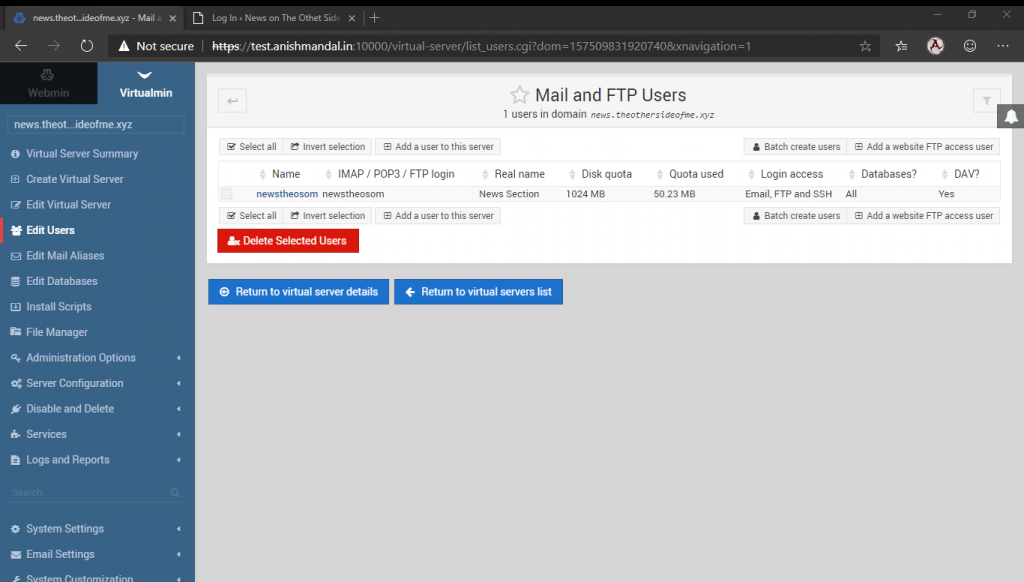
On Server installation the default used mail is also created the same can be configured on email Client. We can create new Use add Quota from This section.
Installation of Webmail Round Cube.
Same as WordPress Script From Left side Panel Go to Install Script and Select Available Scripts where we can see Round Cube script available. Selecting and process on Show install option.
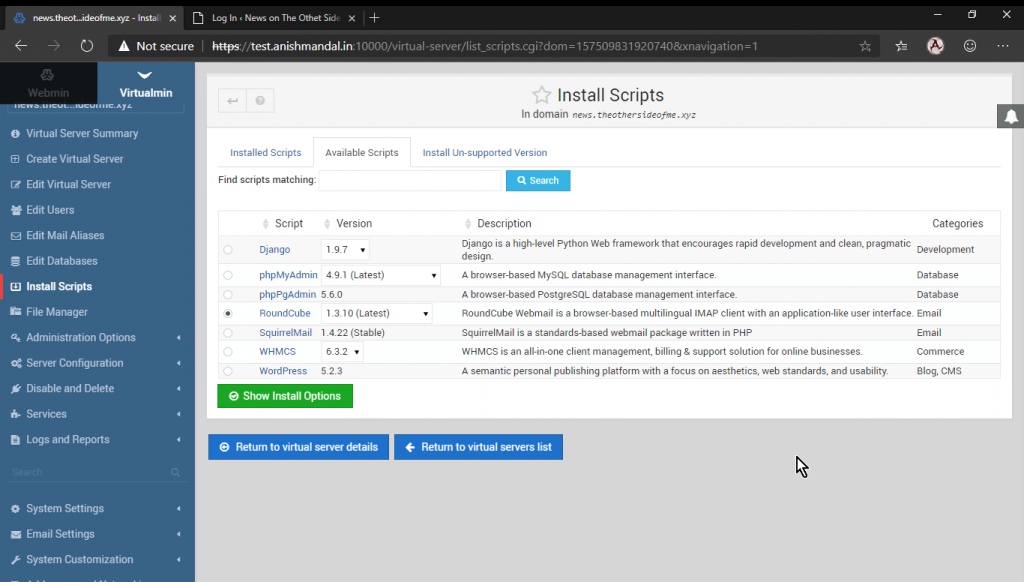
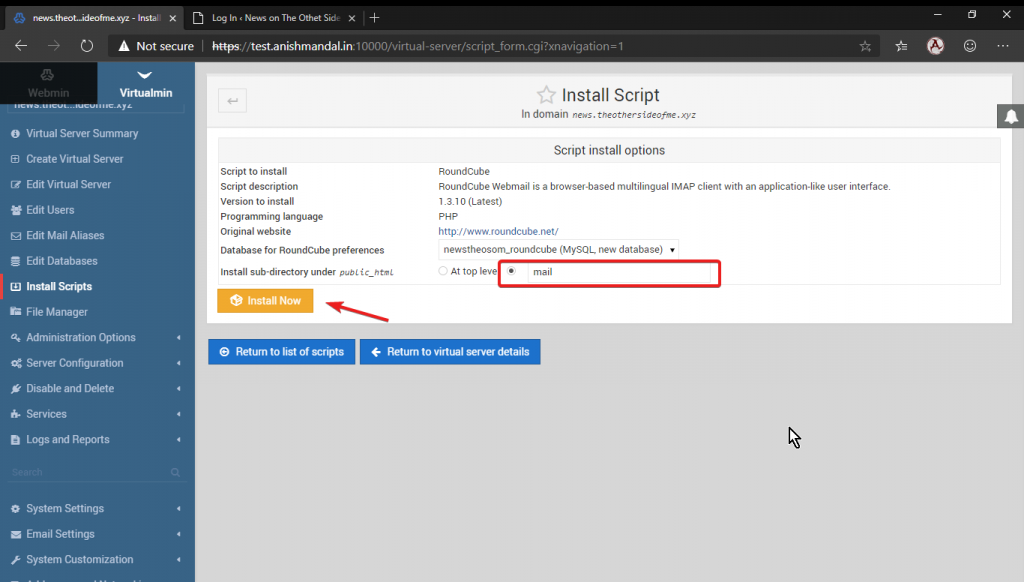
The Setting is to create sub-folder name mail for round cube access as on top-level WordPress instance is already running.
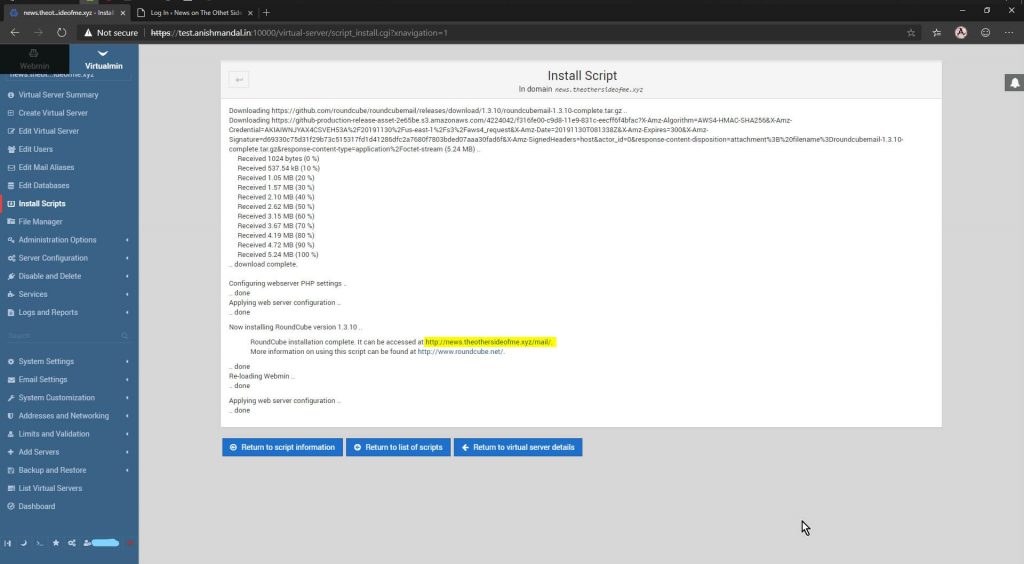
After installation, the same can be accessed from Link
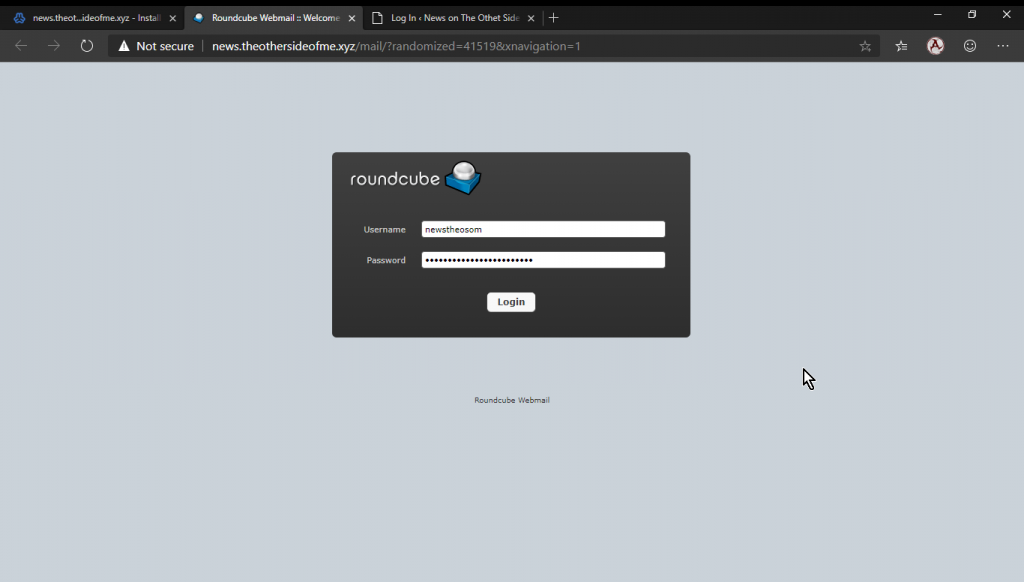
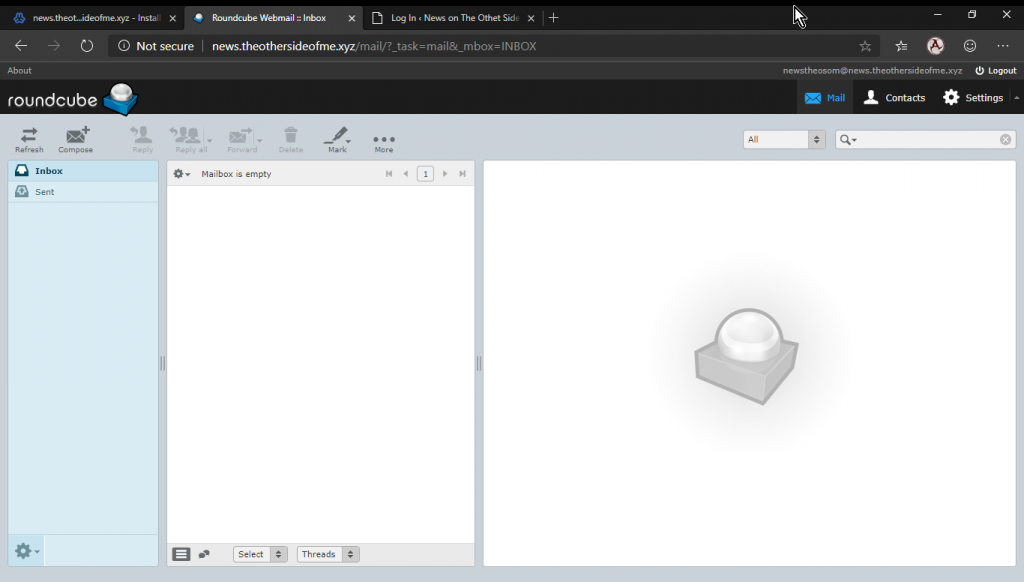
Now it can log in with users and start using mail services. For this post, the webserver admin is used to log in.
The Web Mailbox.
Note: This post is dedicated to Virtual min Configuration Only. For WordPress Security Tweaking Performance Changing Web Login URL and other security, aspects are not covered here.
Also Email Servers There are SPF records, Reverse IP Settings, ARP record, allowing port 25 for SMTP (as default if a server is hosted on AWS or AZURE platform for security concern the port is disabled. So, the mail sending will not work).

