For the production environment, we start using Server edition of Ubuntu 16.10 or 18.04 and want to install LAMP (Linux, Apache, MySql/MariaDB, and PHP) for web server services as host.
Yes, the packages can be installed directly using C Panel like software Virtualmin or Cyber Panel, TinyCP etc. but think a situation of simple 256MB ram or Amazon EC2 instance where we can host simple WordPress or a Laravel or CodeIgniter site without the requirement of the bloated panel.
LAMP servers are Good for using single instance.
The following example is to give you basically how to for installation of LAMP in server.
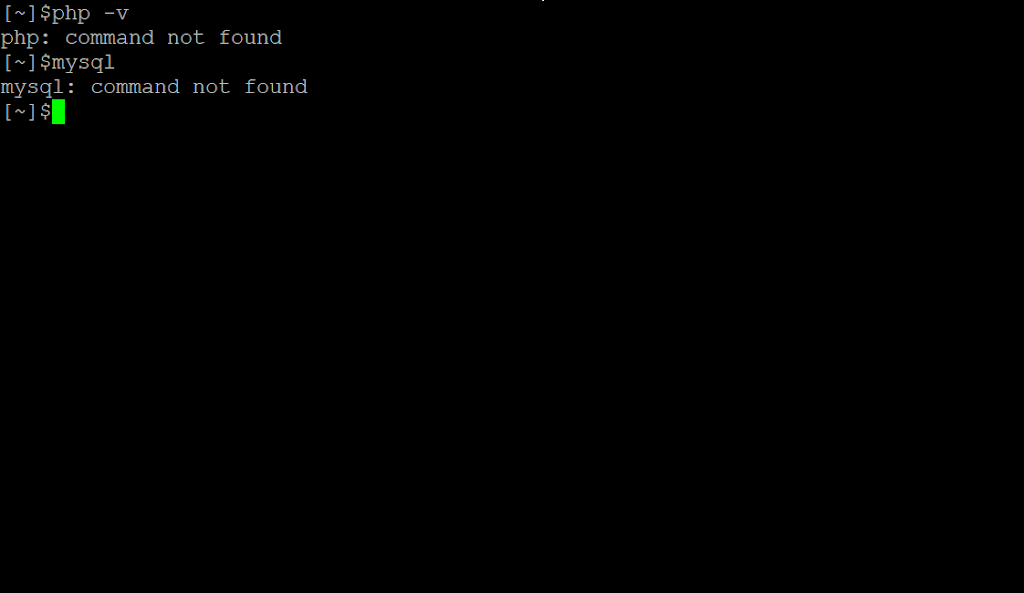
To check any version of PHP or MySQL installed on a system we can use the following command.
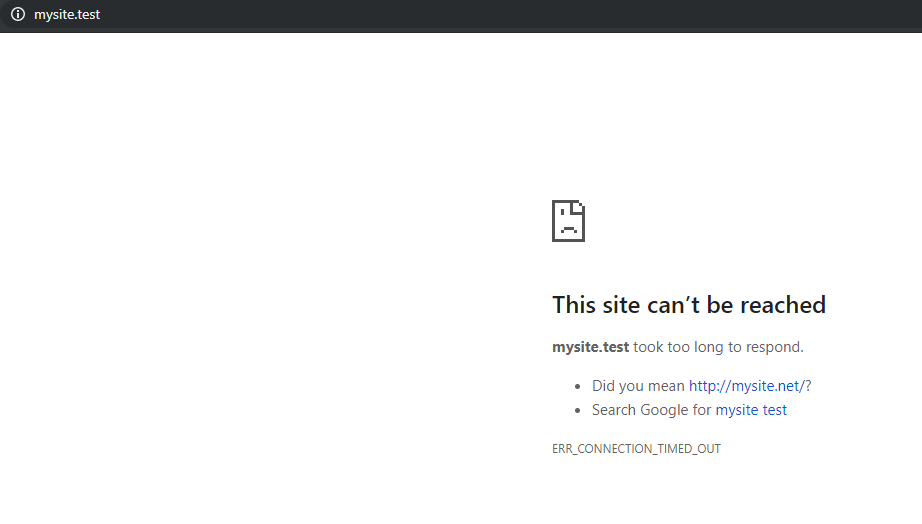
For Apache open http localhost on the browser.
Pre Installation
Check or update System using the following command
sudo apt update && sudo apt upgrade -y
now to install tasksel utility
sudo apt install tasksel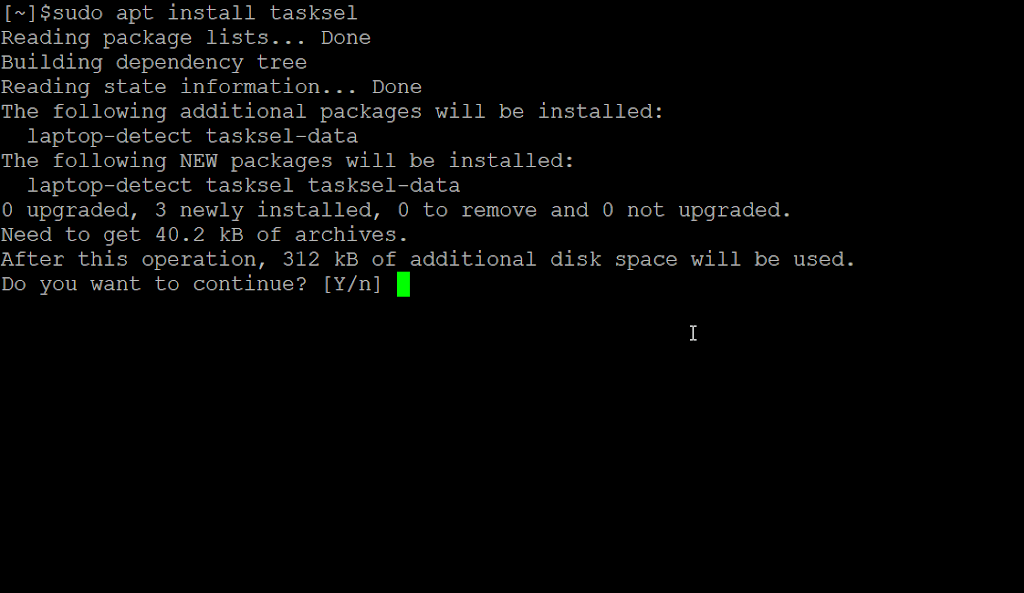
LAMP Installation
run tasksel with Sudo privileges
sudo tasksel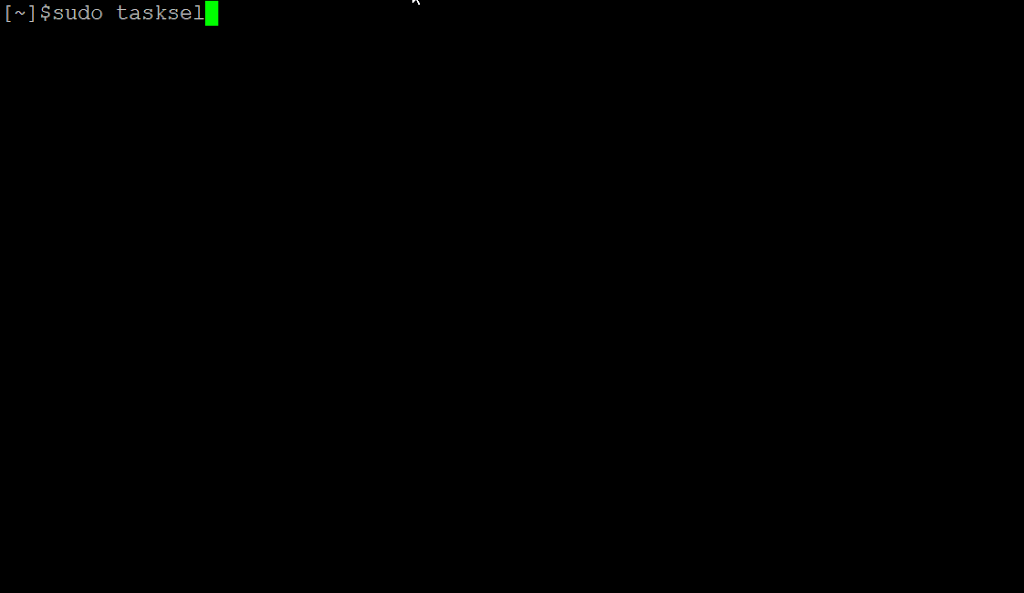
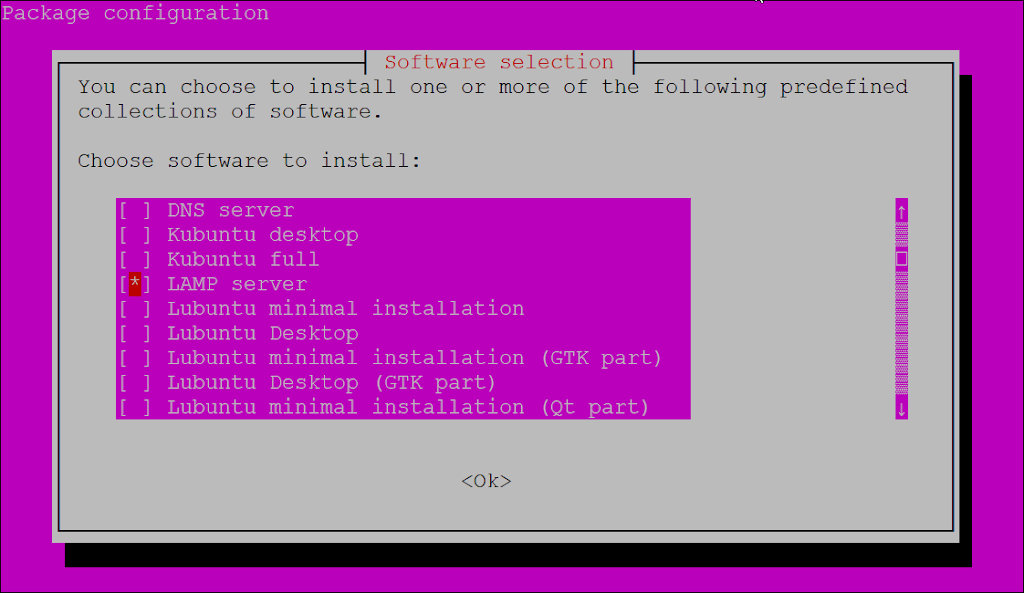
Now using up and down error navigate to LAMP Server press space bar to select and hit enter.
LAMP Installation will start.
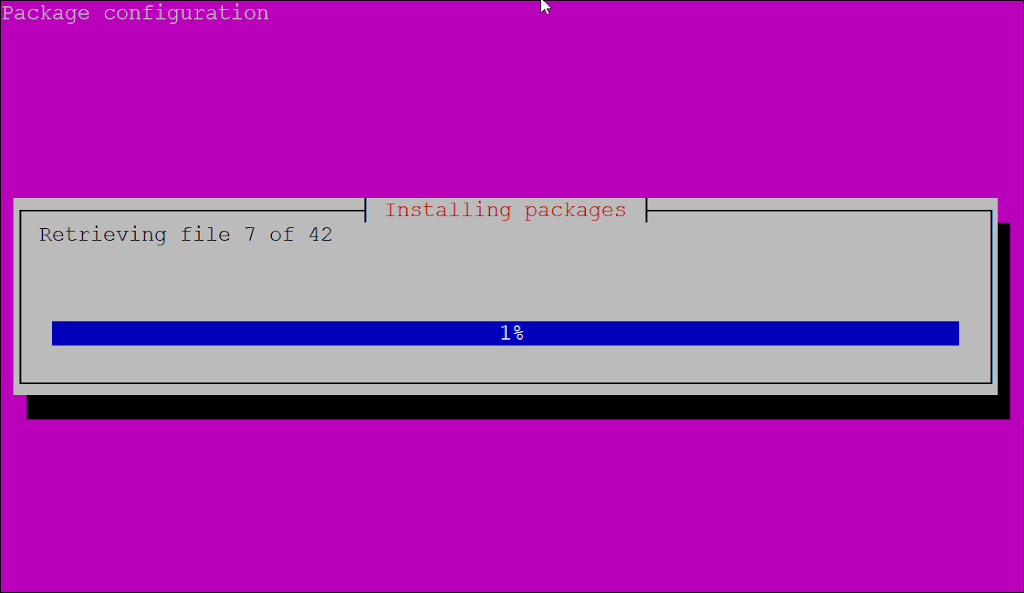
Sometimes in the installation of MySQL database, the prompt will ask to enter MySQL root password which can be set during installation.
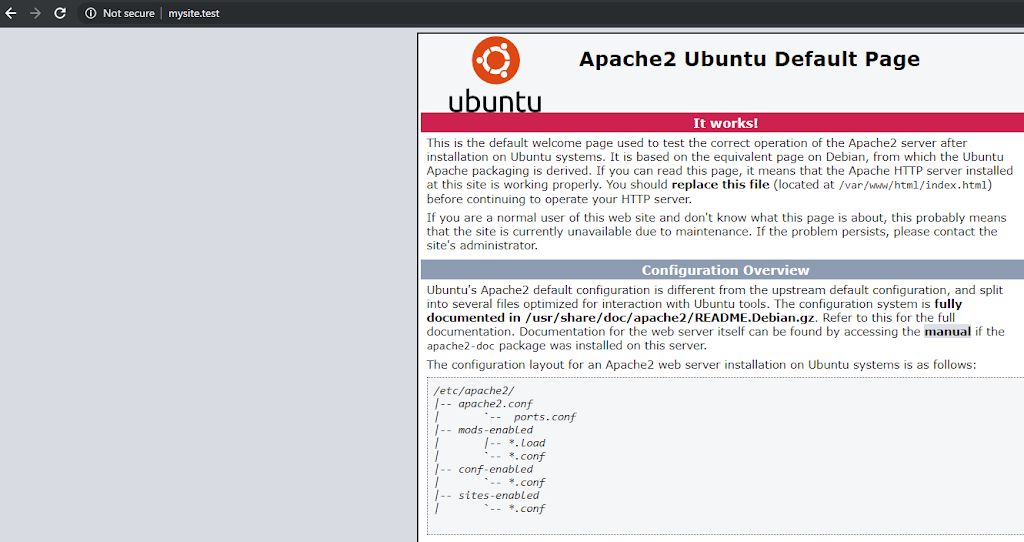
But if without prompt installation is completed so check apache server services by opening browser and typing localhost or in my case I set name mysite.test which I opened in a browser and it showed Apache page.
Secure MySQL or MariaDB on the system.
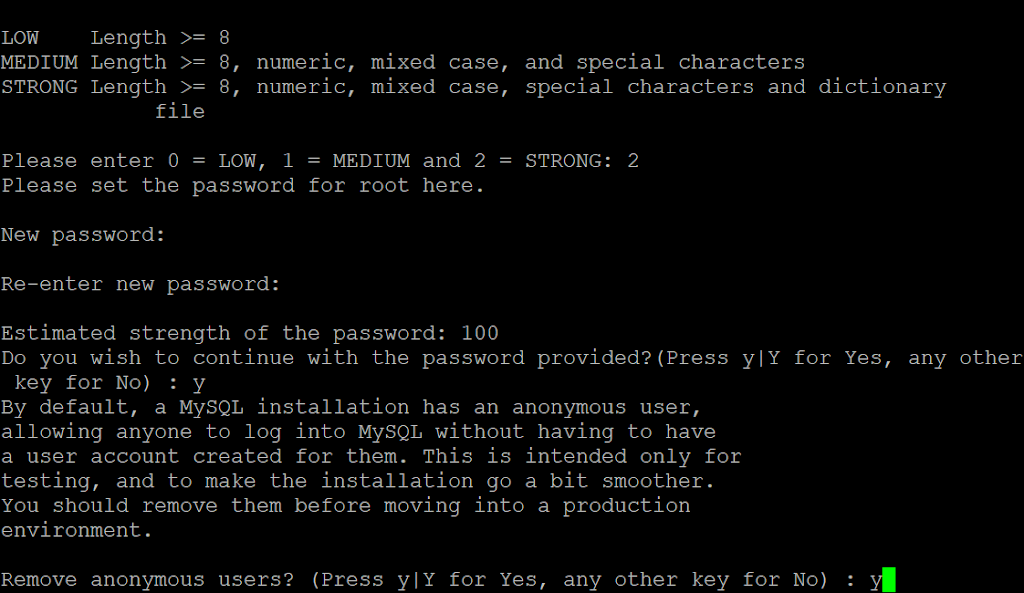
Run following command to start MySQL secure installation where we can set MySQL/MariaDB root password and restrict localhost access only.
sudo mysql_secure_installationSelect “y” for password validation plugin as it helps us to set and score the password we set for root

This prompt need to type password which we want to set for database root. when typing there will be no visual feedback, just enter the password as its showing in password validation policy and hit enter the prompt will again ask to enter confirm password

Following prompt will give the score to password it’s 100 for current, and ask we want to continue for that “y” or any other key to re-enter a password.
Note down the password somewhere as its root password for the database in this local system press “y” to continue.

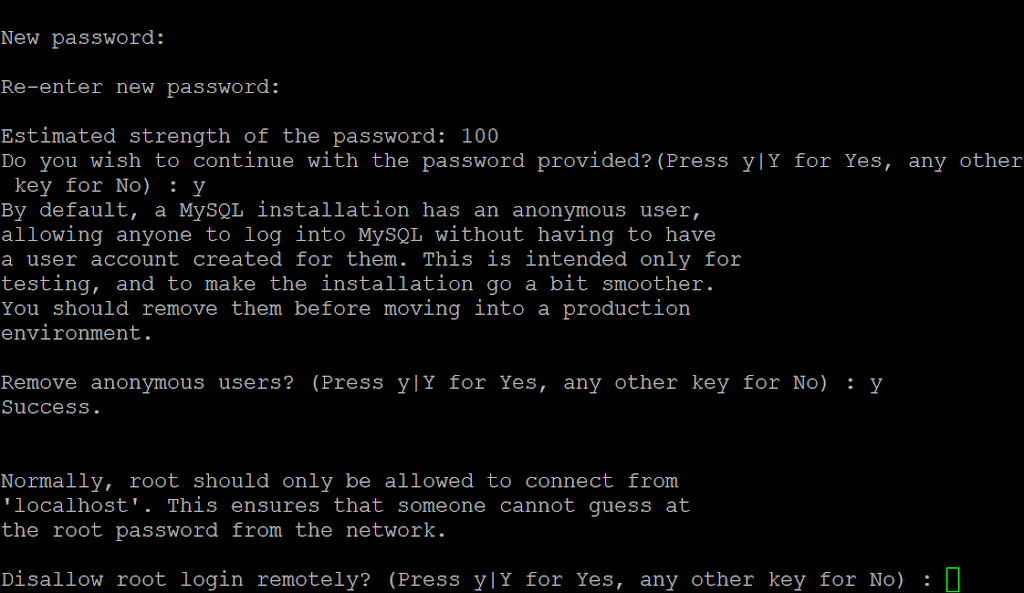
Next prompt is showing me that database installation is completed as an anonymous user we can remove that as good practice by entering “y”
next prompt asks we want to allow database root user can log in on database as a best practice it should be not allowed for single instance as database access we are going to create separate users which can manage only application-level database so “y”.
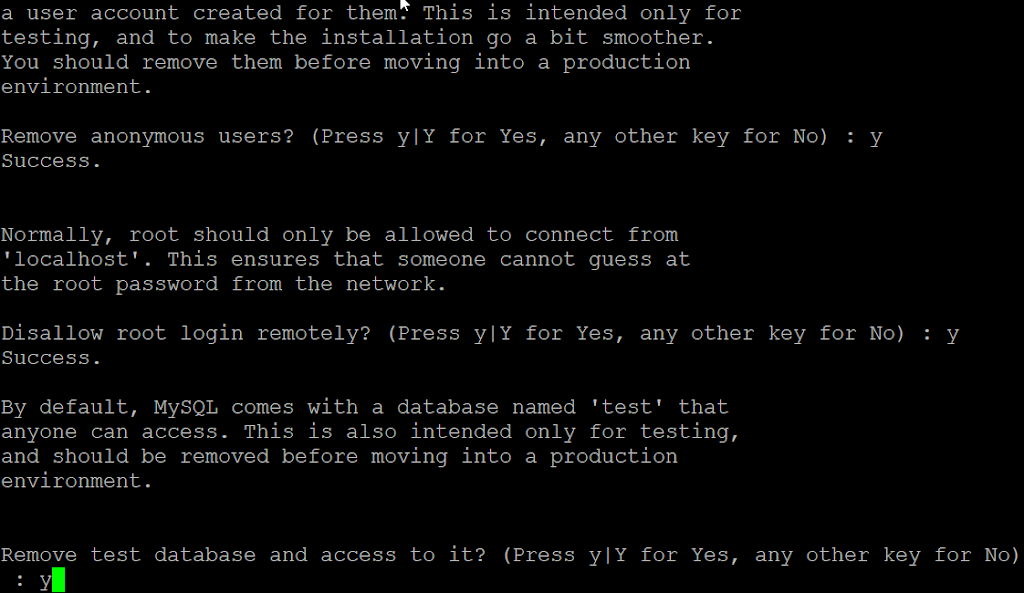
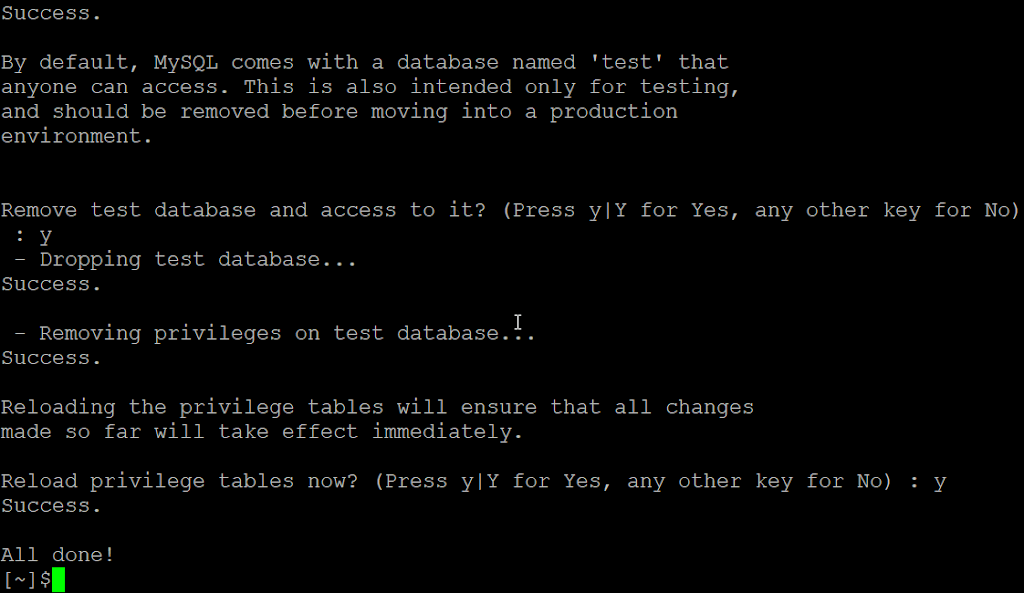
This step is optional as default installation is create test database, if we want we can remove it.
Reloading privileges table will insure the changes will take effect on system “y”
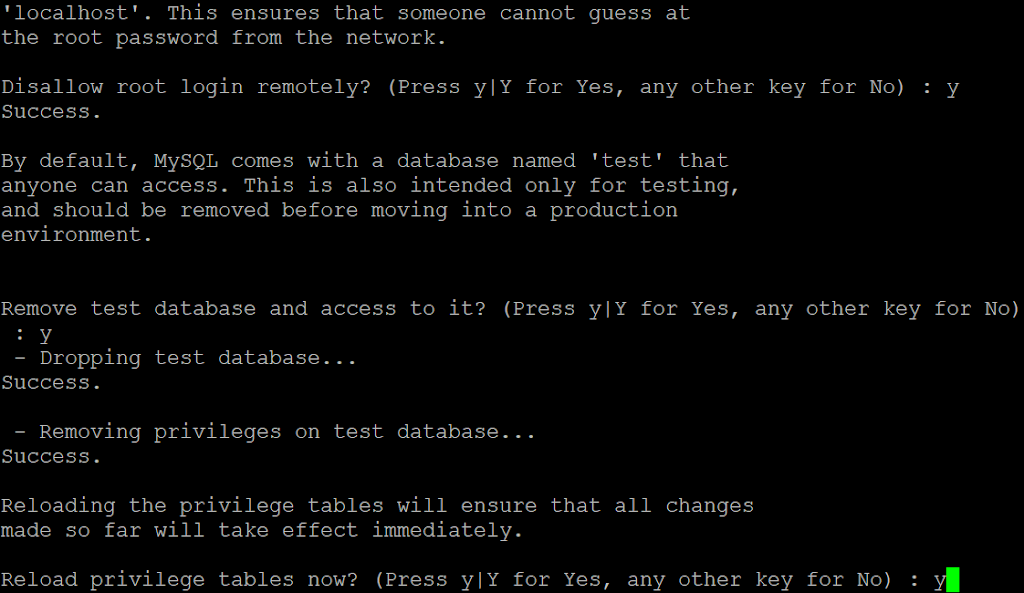
Database Secure installation is completed.
PHP My Admin installation
This is an optional step if we want to install PHPMyAdmin in a system for database management.
Personally, any single instance webserver I avoid PHPMyAdmin instead use MySQL command over SSH create user and database and access the database using.
Heidi SQL or DBeaver.
But this tutorial we cove installation of PHP My Admin
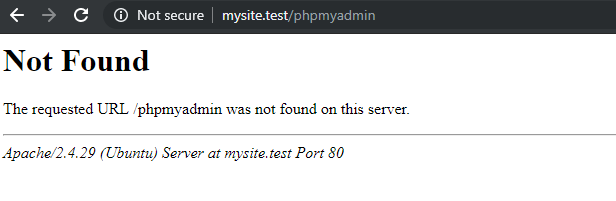
phpmyadmin can be access using http://serverip/phpmyadmin as default.
to install just run command
sudo apt install phpmyadmin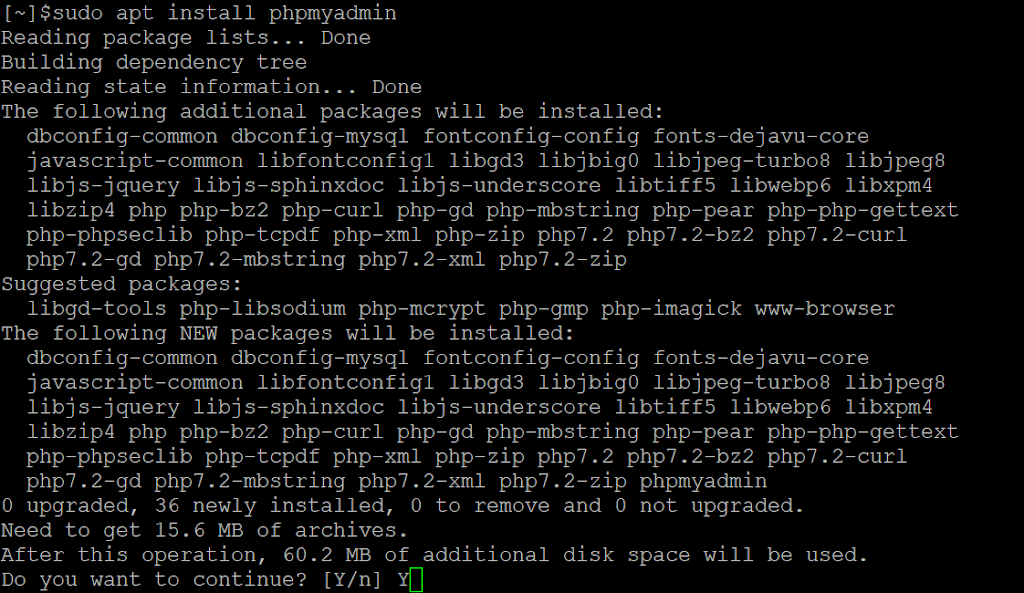
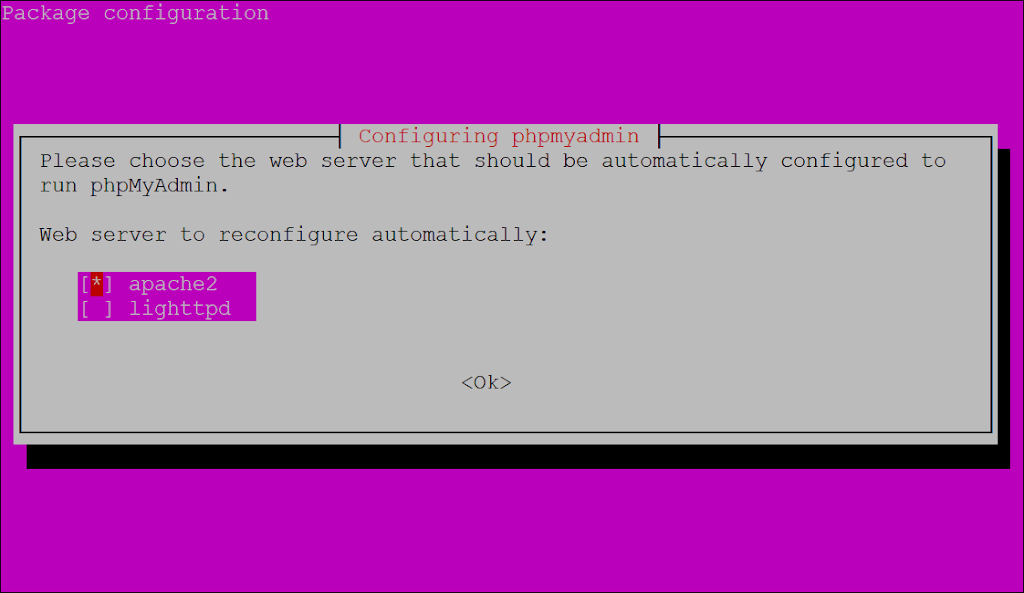
installation wizard prompt to select auto reconfiguration of web server, basically it will do all back end configuration for us. base on running web server services we already installed apache on a server we select apache by pressing space bar and hit enter.
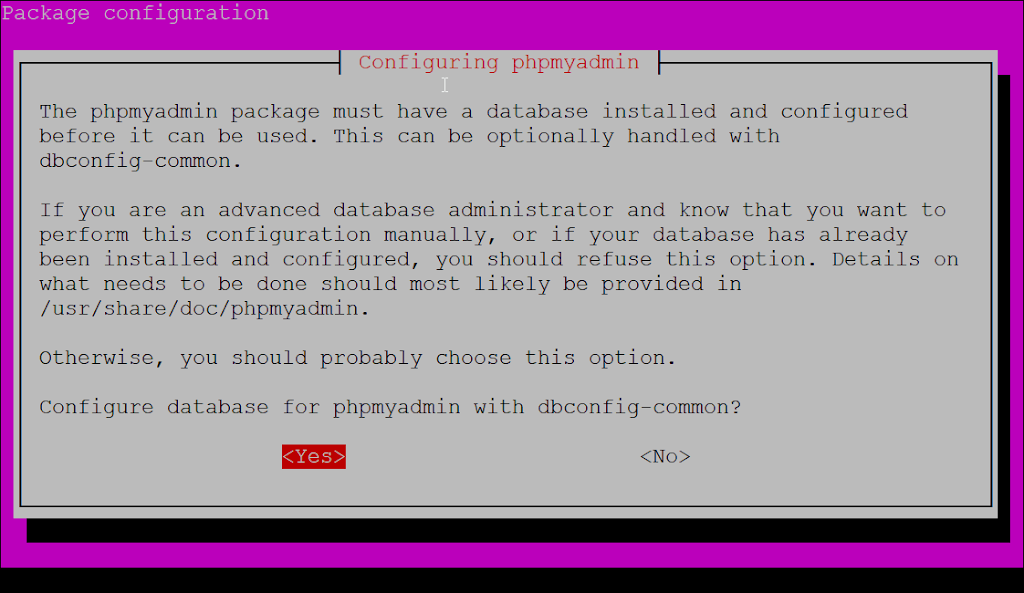
this prompt asking if we want to set manual path of PHPMyAdmin config files but for this installation its ok to save config file on default location which is “/usr/share/doc/phpmyadmin” select “yes”
Prompt will ask us to type a password and confirm the password.
Remember we already set database “root” password and this prompt is different so we can set the same password or we can use new because PHPMyAdmin login username is “phpmyadmin” here not the root.
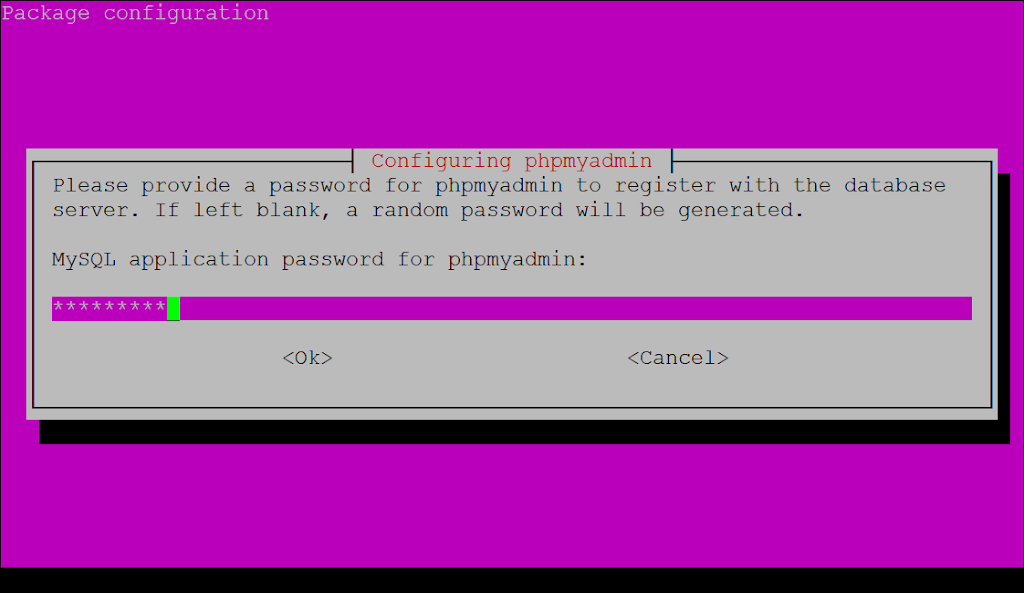
Confirm password

Wait the installation to complete.

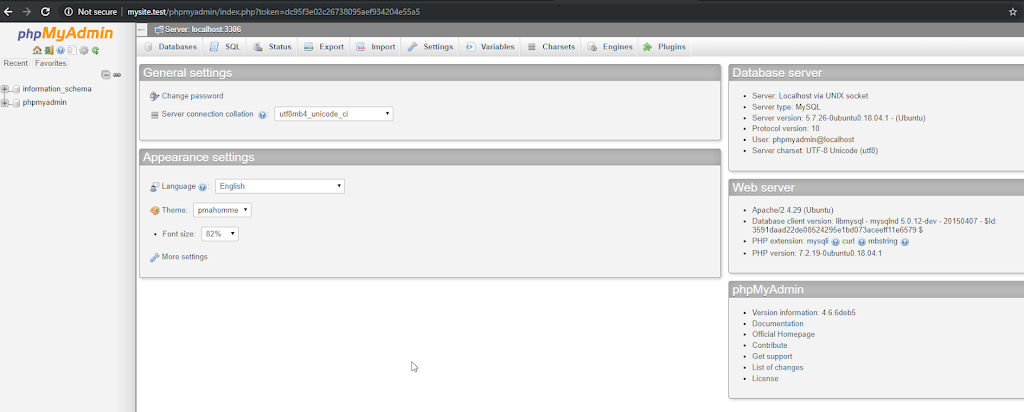
once it completes we can open browser and login into PHPMyAdmin using
Username: phpmyadmin (all in small)
Password : (set during PHPMyAdmin installation)

During Secure installation, we disabled the root database over network login. but can be accessed by different username “PHPMyAdmin”